


Welcome back!
This is a very late update to a video we have posted over 4 weeks ago but in our defence recently we have been more than busy! So to continue on the last post, let me remind you where we took off 🙂
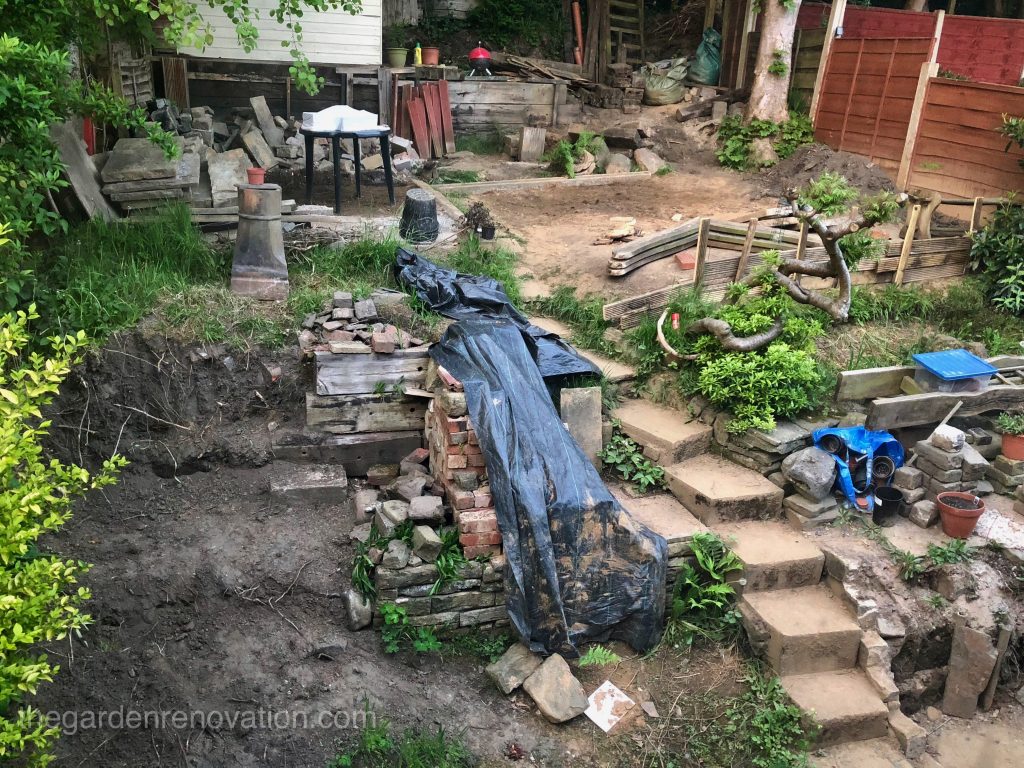
After successfully making the first new garden step, R decided that there is no time to waste and the goal was to make at least one step per week! (yes, I know it seems like a weak goal but what can you do when you actually have to work and earn some money at the same time 😛 )
The second stone mosaic step was done in a very similar way to the first one except that this time, we have not made the foundation for the whole of the step but only for chosen parts of it. To be more specific, the stones that made the raiser of the second step will rest firmly on the first step because while the step itself is 40cm deep, we accounted for the space needed for the next raiser and made it to 50-60cm. On top of making a good and a strong base for our raiser, we have also made some for the sides of the step. This simply consisted of digging two small trenches on either side and first filling these with some leftover bricks (from our rubble pile in our case!) and topping it up with some mortar in between and on top of course. Only when we had that done, we moved on to the fun task of choosing the stones! After doing the initial fitting, R moved to fixing the stones in their permanent position with some mortar. Once, this was done, G poured a mix of rubble and clay inside the step and topped it up with a thin layer of mortar once more.
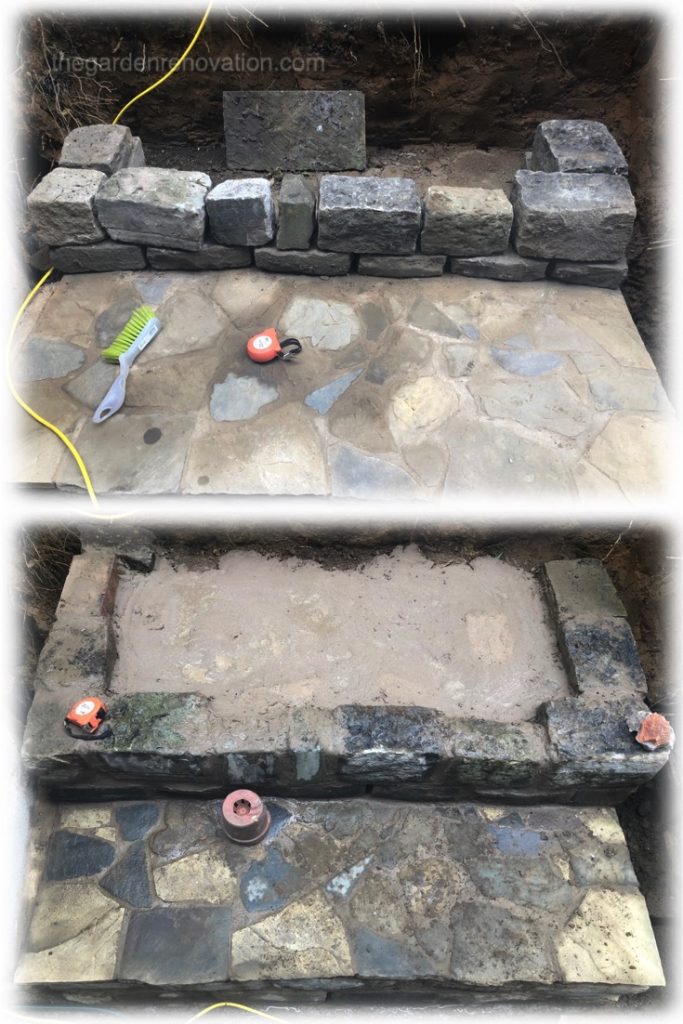
This made a base for R to start laying the top stones – this time for the step part of the stairs. Similarly to last time, what seemed like a quick task was rather a lengthy one. Not only this, but if you compare well the two photos below you will also discover that what seemed to fit nicely without mortar, did not fit as nice with it! As a result, R had to come up with another mosaic pattern to accommodate the change in the layout. Like last time, once she had the slabs and slates set in mortar, it all started to slowly looking decent 🙂 .

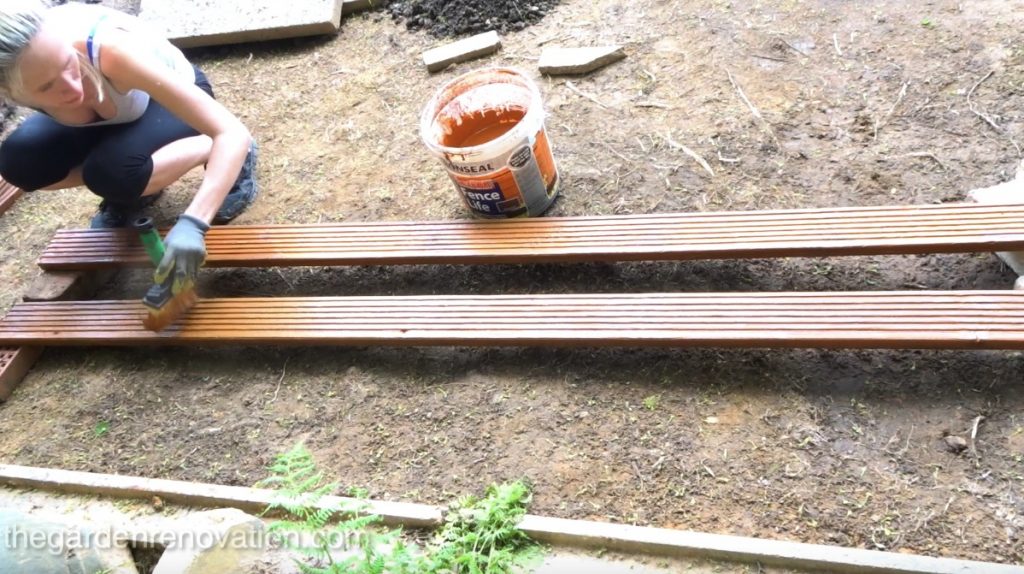
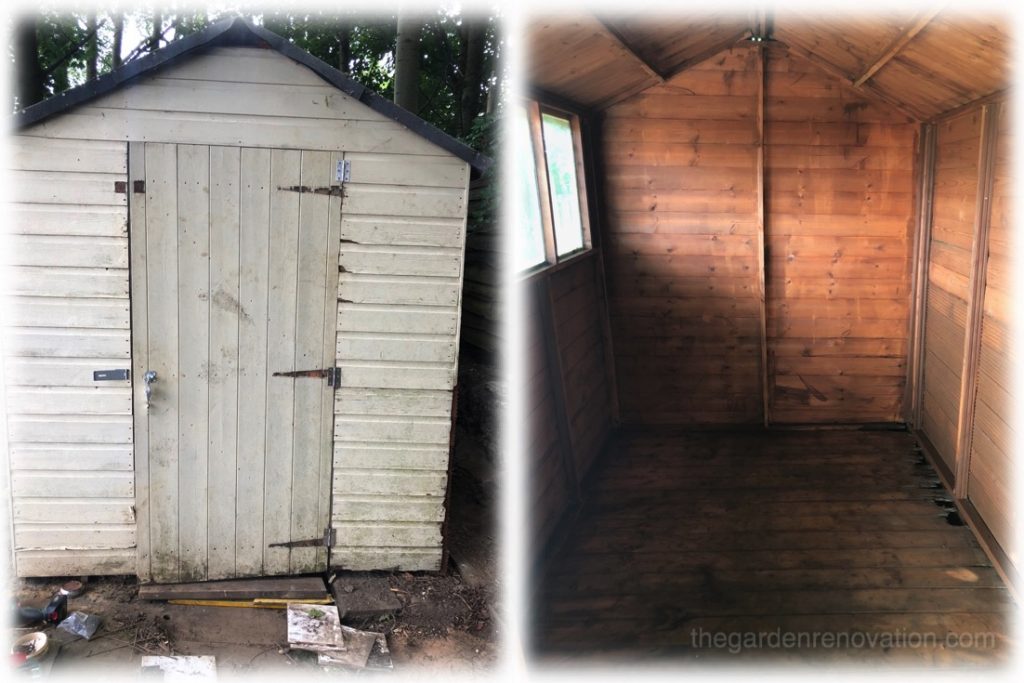
While R was fighting with the garden stairs, guys had more manly activities to undertake! One of them being fixing the shed. For that task, back at the beginning on the year (still during the winter), we have put aside several planks of decking wood that we recovered from our rotting decking. For the past several months, we have been storing these in the shed and patiently waited for the right time to fix the shed!
Since the time has come, we started by making sure that the wood would not deteriorate any further than that and using leftover fence paint that we bought summer last year, we have dutifully given the planks several coats of the fence paint to prevent the water damage.
Then G measured both planks and the shed itself again and set out the plan of attack. After several hours of cutting and drilling, he was ready to show us the outcome which was GREAT! He has not only fixed the massive hole we had in the shed, but also fixed the door with the new hinges and a lock 🙂
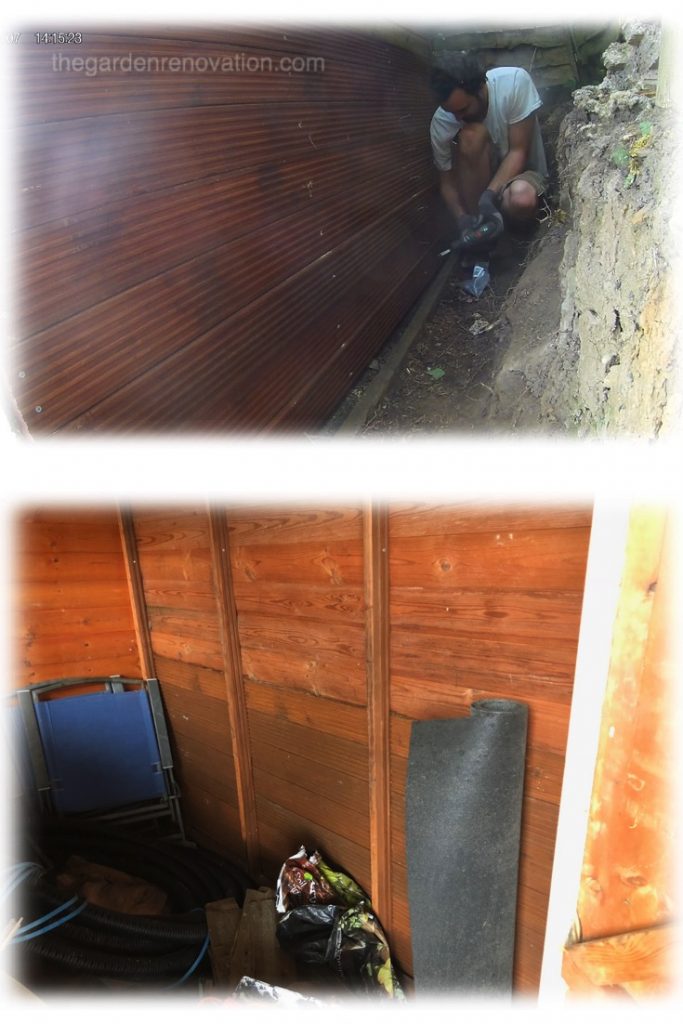
Since end of May, we got ourselves an extra pair of helping hands that will stay with us for a month and help us with the work in the garden while we are at work and during the weekends. So our extra helper got a task of removing all spiders and dust from the shed and painting the shed inside (just after R spent 10 min spraying the shed with a spider killer…). After that, he has also put together three sets of aluminium shelving and fixed these to the wall of the shed to prevent it from tipping. After that, we deemed the shed ready and started loading our rubbish on the shelves 🙂
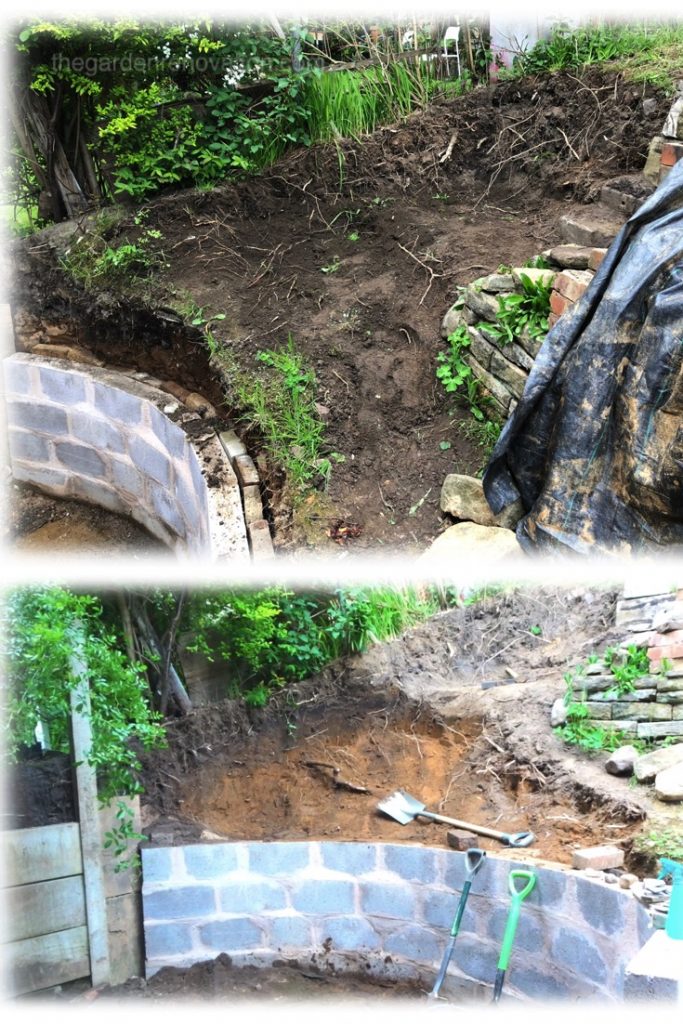
The very last task fully undertaken by guys was to remove the the excess of the earth that was overhanging the curved wall. This was needed to support our neighbour’s dirt and prevent it from tipping onto our plot.
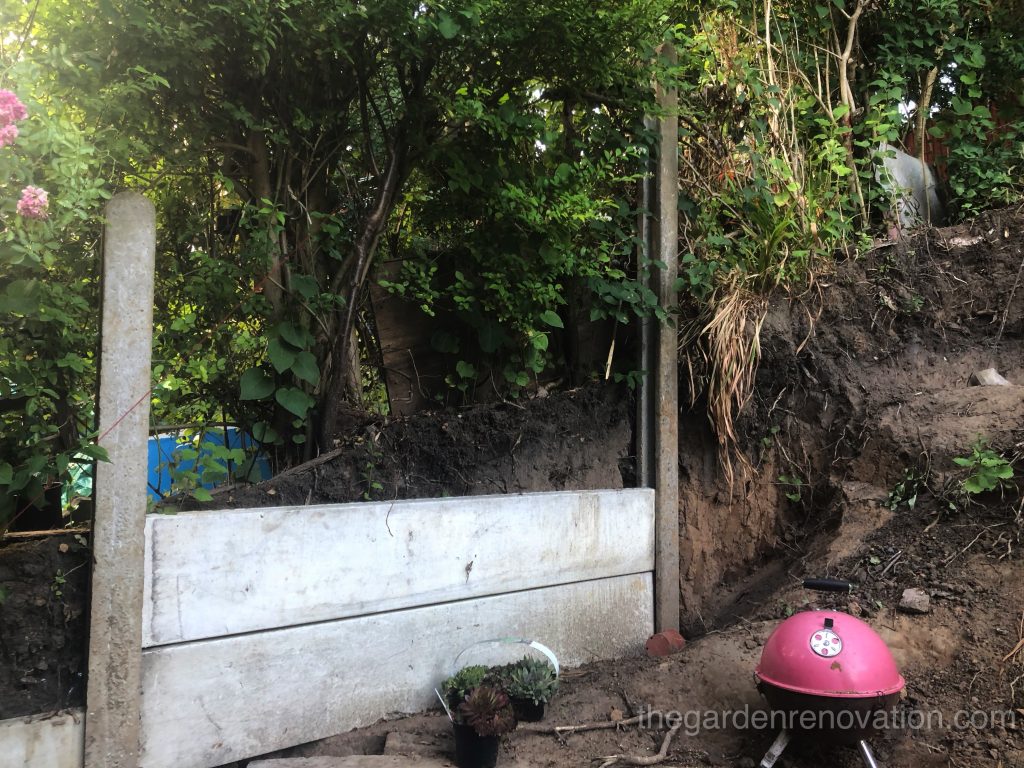
This time, R was glad that G had a male helper of his own! The last time she helped set the concrete post in, she reached the point where the parts were so heavy that she could not tell anymore what was heavier – the concrete post or the concrete base panels?! Setting this concrete post went smother than last time (last time, it took us 3 tries) but was more tricky as guys had to get all the parts up the wall and on the slope first! After slotting two base panels, the post was wedged between the bricks and subsequently the foundation mix was poured inside to set the whole thing tight resulting in this great DIY outcome:
See you next time! 🙂
To view the next article click here Part 18 – Oh my god, what has happened to us since July?!