


Welcome back!
In line with the nice weather, we continued spending the whole days outside. Last time, we finished off with the foundation for the very first, new and shiny garden step (one out of six planned!).

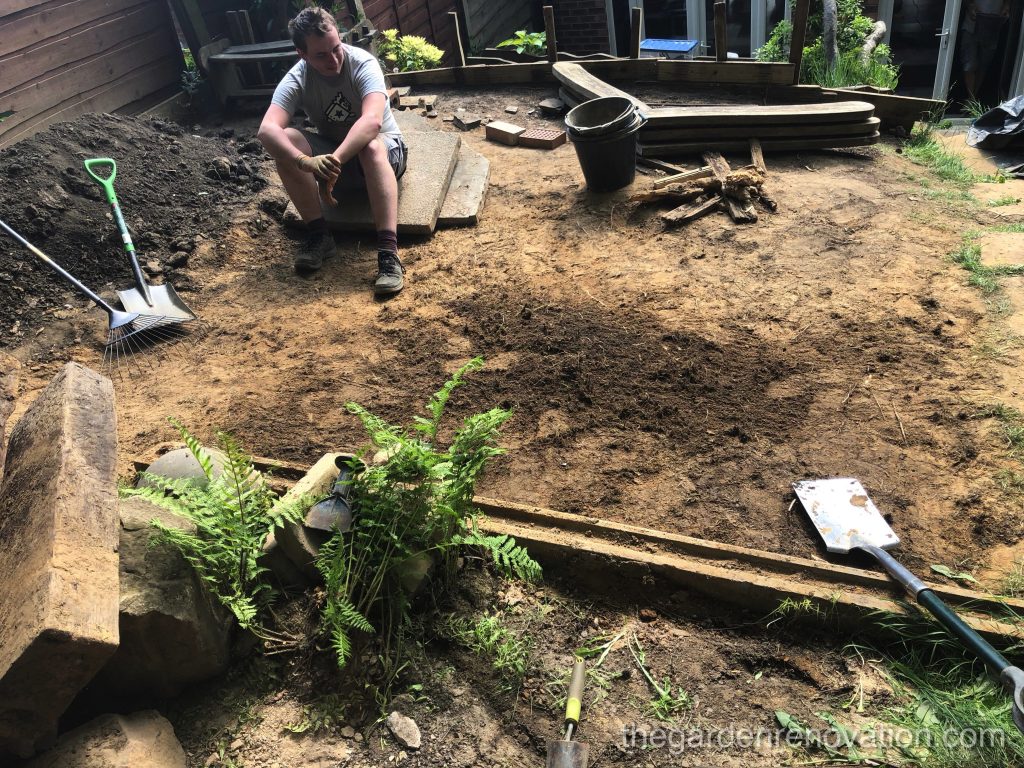
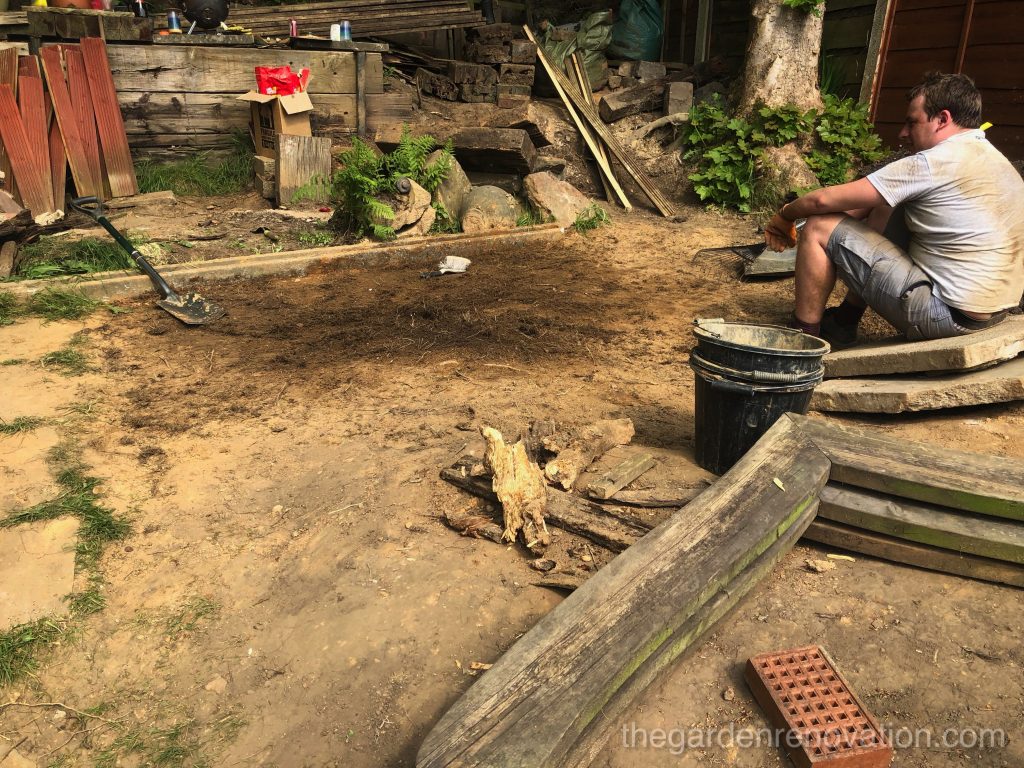
Having the foundation dry and set, G was assigned with the task of putting together the raiser for the step because so far everything that involved work with cement went to him 🙂 . Without bending the truth, while everybody else (we had friends helping again!) was working hard trying to remove the clay from our lawn, he spent half a day choosing stones!! It apparently proved to be a very difficult task to put them together in a way where the step would be about 25 cm high and 130 cm wide at the same time. In terms of depth we went for comfortable 40 cm however, overall we did 50 cm to account for the firm first base for the raiser of the second step.
Before we started assembling the stones for the raiser, we decided to extend the drainage pipe that was now cut behind our first retaining wall. Just like last time, G engineered a connector and extended the pipe to run behind but in our first step. At this point we have used all gravel that was delivered to us a while ago now in a jumbo bag and did not even have a spare, small bag of gravel from a DIY shop so we had to improvise! In the end, just to keep the work quick, we settled for making some gravel using rubble and the sledge hammer. In order for the gravel to nicely hug the drainage pipe, we laid some bricks around it creating a channel, and only then we poured the hand-made gravel on it.

Then to limit the weight that would go on the pipe, we have also laid some bricks on top of the drainage pipe which created a small bridge above the pipe. When that was done, G started putting the stones with mortar in between but soon had to stop as other tasks took priority. Since the mortar was drying out and he could not continue, R stepped in and finished the job. This was actually the first time, she got to “build” something and it was not that bad after all! We then filled the step with a mix of rubble and clay and covered with a thin layer of leftover mortar to bond all the components together and create a firmer base.
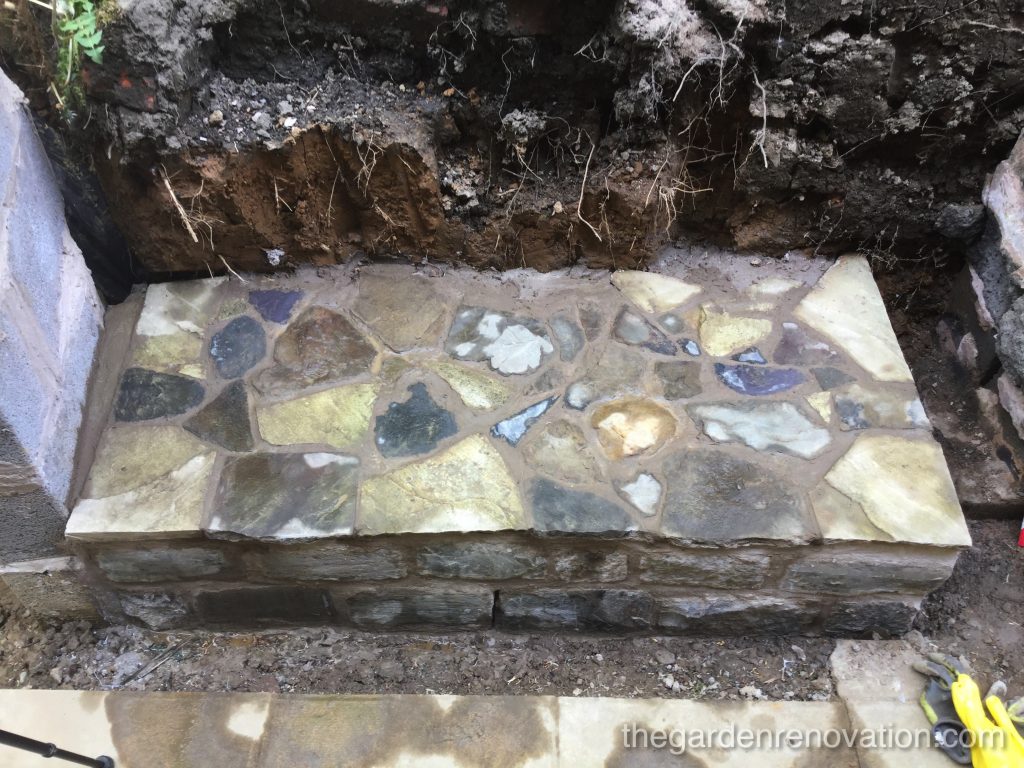
Since we started our garden ‘excavations’, we discovered that we are basically drowning in stone material and what relevant to stairs – we have many smaller and bigger pieces of relatively flat stones and slates. We are pretty sure that some of them might end up on sale at some point but at present, it seems a shame to start getting rid of these now. Therefore to maximise our garden recycling scheme, we decided to use the small and flat pieces of stones to create the step part of our first fleet of garden stairs.
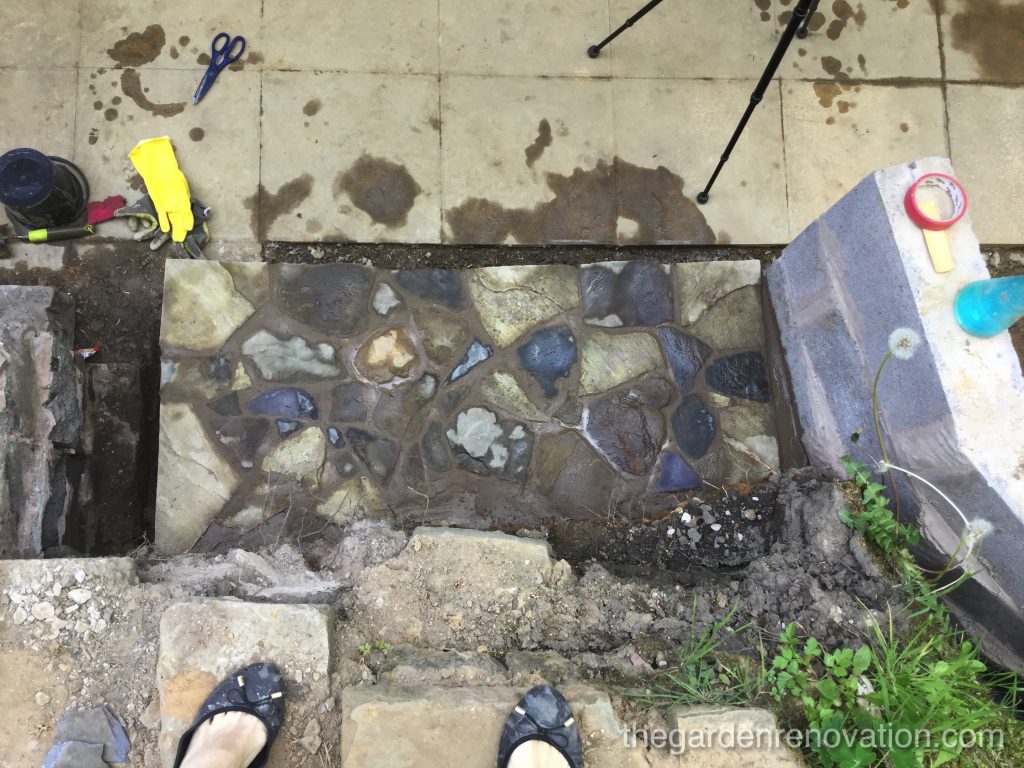
R took this task and she started by picking a few pieces at random and giving each of them a good wash with a brush to be able to see their colour and texture (they were all covered in a layer of mud/dirt). Once that was done, she tried to create a stone mosaic on the first step – dry, without the mortar at first. This went relatively quickly, so another day after work she decided to make some mortar and set the bricks in it. This was a bad idea simply because it looked like a couple of hours task but it definitely was not so she ended up working on the step nearly until midnight without any day light! 🙁 This also only allowed her to set the stones in the concrete but was not enough time to put any finishing mortar between them.
After R learnt that an evening after work is not enough for this kind of job, she waited patiently until the weekend to finish of the first step. A friendly piece of advise would be to take several photos of your mosaic before you start moving it because with so many small pieces, one can get confused about the way the pieces were meant to fit together. Adding mortar mix in between the small pieces was not the easiest but in the end, after a quick wash with a sponge it already looked half-decent!
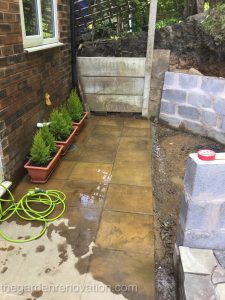 Also last week, while R took care of the Lemon Crest trees she planted last weekend, G cracked on sorting out the big drainage basin pipe and re-directing our water pipe. He first cut the basin flush with the paving and then extended the pipe to run along the house wall. This allowed us to make that space more usable. To keep things in the garden safe, first we added a fine net over the pipe basin (to prevent rubbish falling in and blocking the pipe) and then to actually prevent people from accidentally falling into that hole, we also put the pots with the trees against the wall covering the hole. With time, the trees should grow which will cover the wall and the ugly piping, and hopefully the nice lemony scent will extend all the way to our kitchen window 🙂
Lastly, we continued removing the clay from our lawn and moving it to big jumbo bags set in front of the house. In fact, we were doing so well that additionally to removing all the dirt from the lawn area, we have also removed most of the clay from the old decking area which was sitting there from December 2017! We are now very happy and relieved that we regained the area where we used to be able to enjoy a dinner last year 🙂
See you next time!
To view the next article click here Weekend 18 and 19 – Second garden step, rebuilding fence and a complete makeover of shed!