


Welcome back!
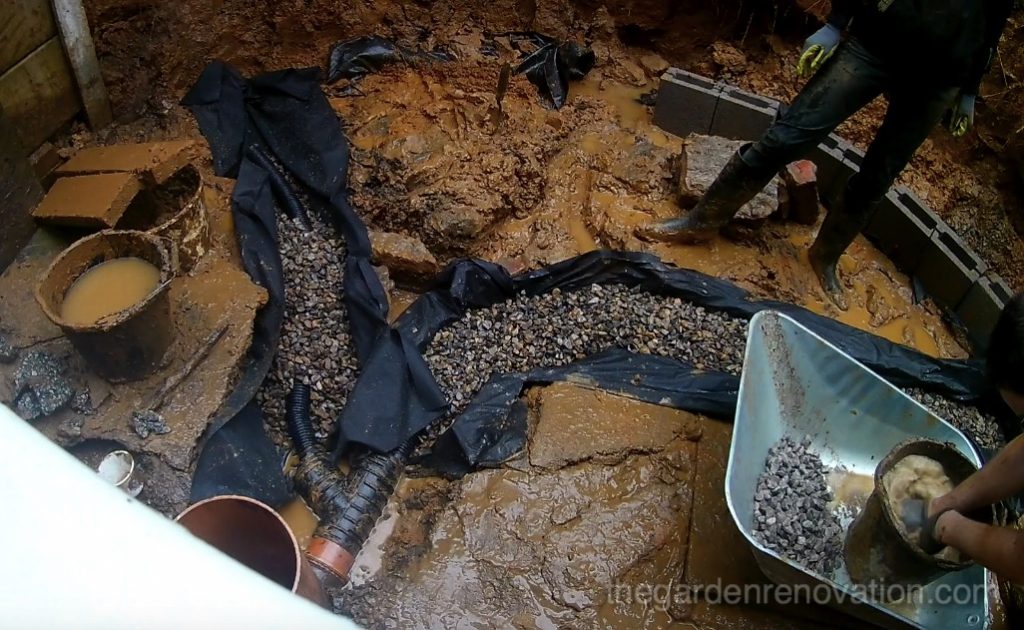
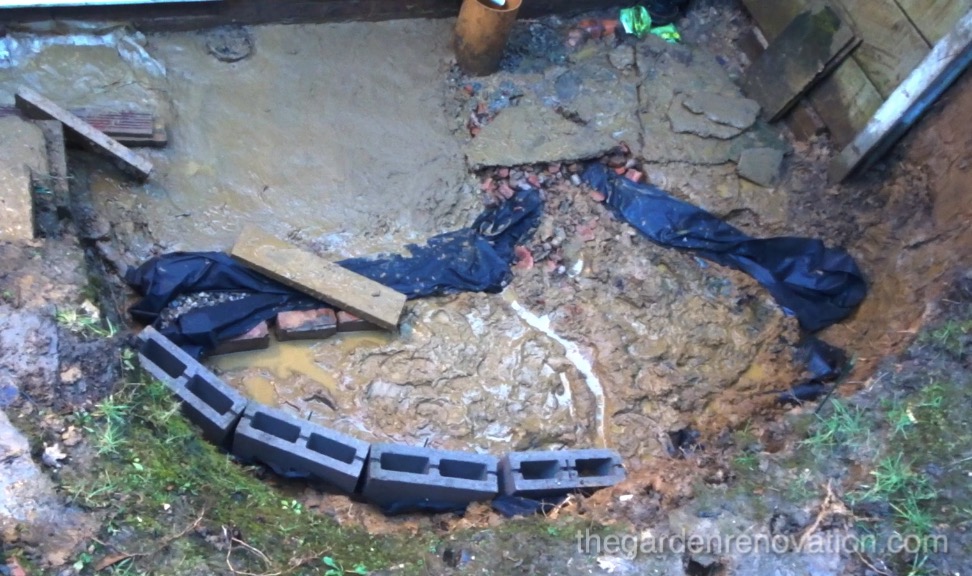
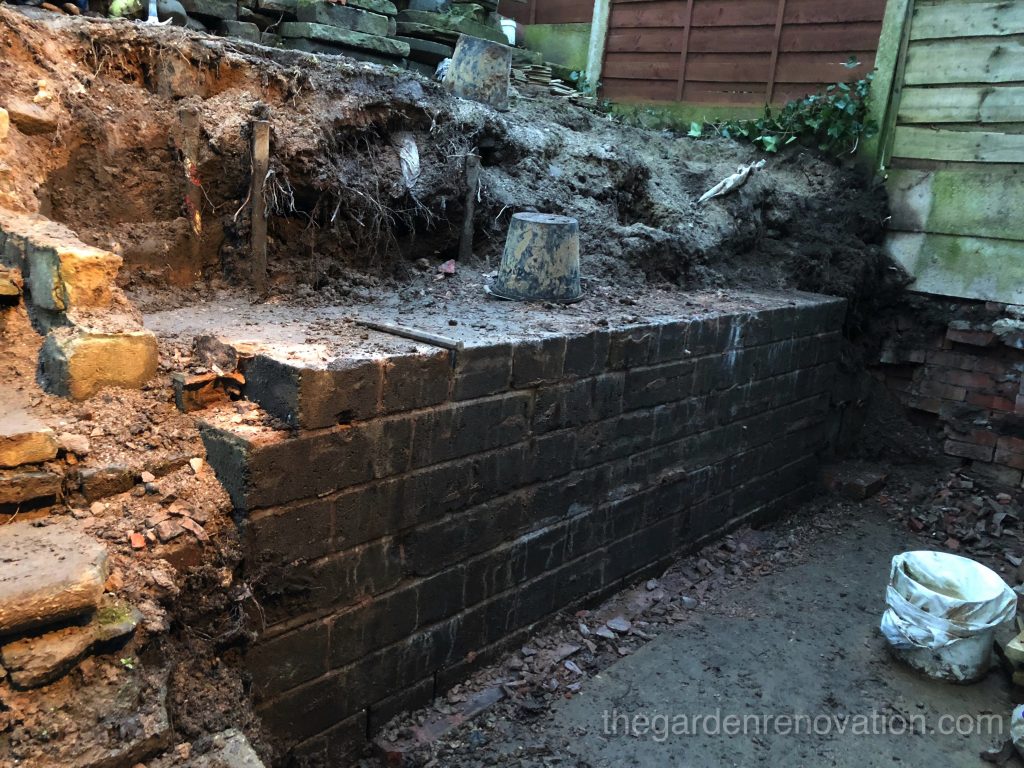
As a contrast to last weekend weather, this weekend we had 12-13 degrees outside! Despite the nice temperature, on Saturday it was still raining for half a day on and off so it was a bit tricky to let the camera record our progress. We devoted the whole day to first re-thinking and then setting up again our garden drainage next to the house. This was attempt number two and this time it had to go right! Having dismantled the whole installation last week, G took the task of properly levelling the trench to slope it towards the draining basin. He did that for both paving drain and the drain that will come from behind the retaining wall.
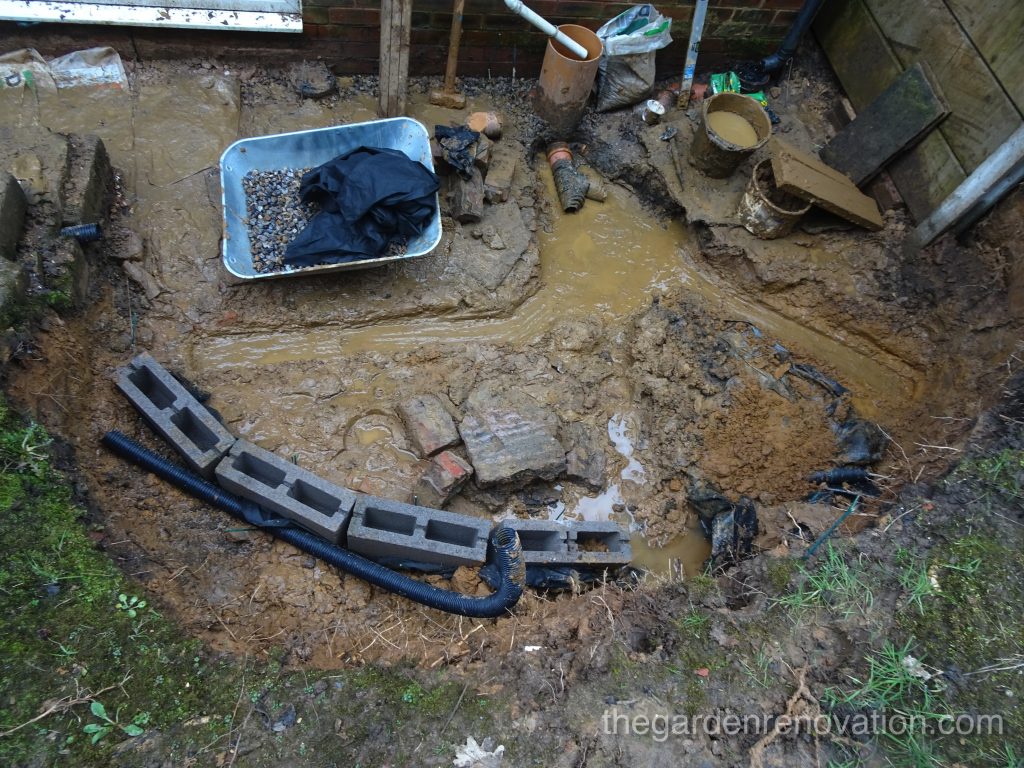
As our V-join was too high and could not be lowered in the location where we installed it, it had to go! G has engineered another connection using the soil pipe which allowed us to install the V-join much lower and hence we had more gradient range to play with. From then on, it went rather smoothly, we laid the landscaping fabric down, spread a thin layer of gravel at the bottom and….realised that the pipe we cut 2 weeks ago is now too short to fit the new design! To help the issue, G has quickly engineered a pipe connector made out of the same pipe which was now cut against the ribs to allow slotting two ends of the pipe in it and hence connecting the two.
Once this was done, we spread more gravel on the sides as well as on the top of the pipe and covered that with the remainder of the fabric. For the drainage section going towards the future retaining wall, we only cut and fitted a small section of pipe so that once we are ready to build up the wall we can easily join to the remainder of the pipe. As the last step, we have filled out the gaps between the pipes with small rubble and clay.
Given that the whole ground is clay, with the wet weather we had, it has turned into a mud pit with numerous puddles. In order to avoid these forming under the sub-base that we will be laying for the paving, we decided it would be best to smooth out the area. Additionally, we want the water to drain away from the house into the drainage pipe we just installed hence we smoothed out the clay we have on the ground by hand and with a level we have sloped the ground away from the house by 2 degrees. We only did that on the left-hand side of the basin leaving the rest for the next day.
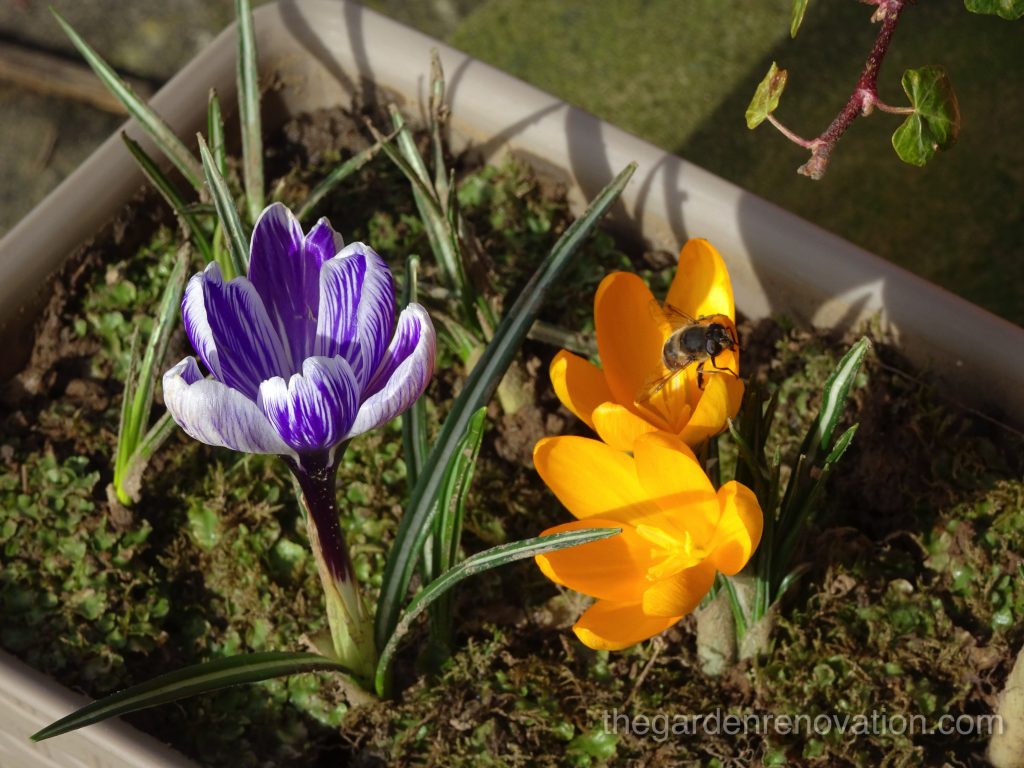
While G was fighting with the drainage, R first removed all the crocus bulbs from the slope and then planted them in rectangular pots which now decorate the front of the house. She then kept on clearing out material from behind the stone retaining wall adding to the ever-increasing piles of stone, rubble, rubbish and more importantly sand pile.


Like we mentioned last week, on Sunday we had a friend – who kindly offered to help us with the works and was keen on using the sledgehammer to remove the bottom part of the retaining wall! As a first step, we started removing the rest of the stones and blocks which we piled up on top of the stone wall but when it came to lifting much heavier stones, R left the tasks for the two pairs of strong muscles ? After this demanding physical exercise, G flattened and sloped away from the house the area right-hand side of the drain basin, R kept on collecting more sand and our friend started to remove the wall. Five minutes into sledgehammer action and we discovered that the bricks wall was only a cover to what appears to be a super thick wall made out of big concrete blocks – we are yet to find out how many layers of these!
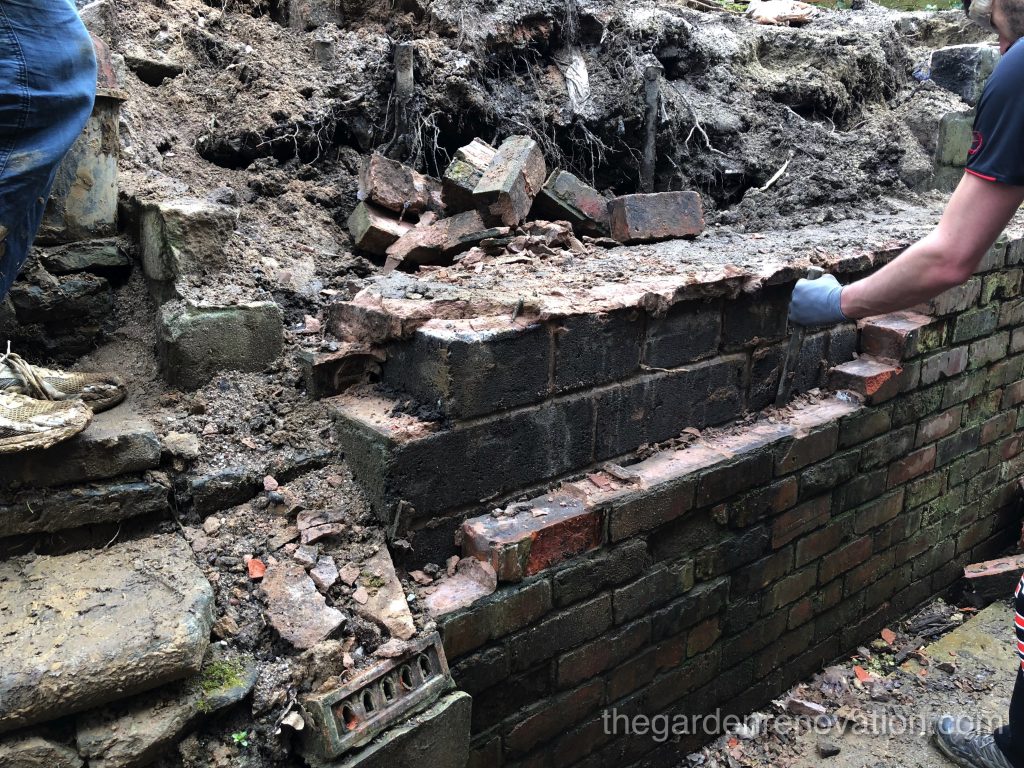
Once G was done with the drainage, the three of us focused on removing the wall. For G and R that meant separating the material from behind the wall and stacking it at the top of the garden, for our friend that was hammering the bricks down. At the end of the day, we had managed to successfully remove the entirety of the brick façade, this included the remaining wall of the barbeque as well as the remainder of the top stone wall. We made several attempts to remove even one of the concrete blocks behind the bricks, but we did not make much progress with that. We agreed we would leave that for another weekend 🙂
The rain continued at the start of the week and we were pleased to see that the smoothing of the groud worked well to prevent standing water. The drainage also seemed to work well with no large puddles forming. This means that we are getting closer and closer to finishing up the paving in front of the house! Stay tuned to see when that happens 🙂
See you next time!
To view the next article click here Weekend 10 – Partial removal of the stairs and laying sub-base for paving.