


Welcome back!
It is now the middle of March and with the clock going forward we have light until 8 in the evening, this means that we can get a few extra hours of work during the weekdays. Last weekend we did not manage to do much because of the weather so it seemed right to do some extra work in the week.
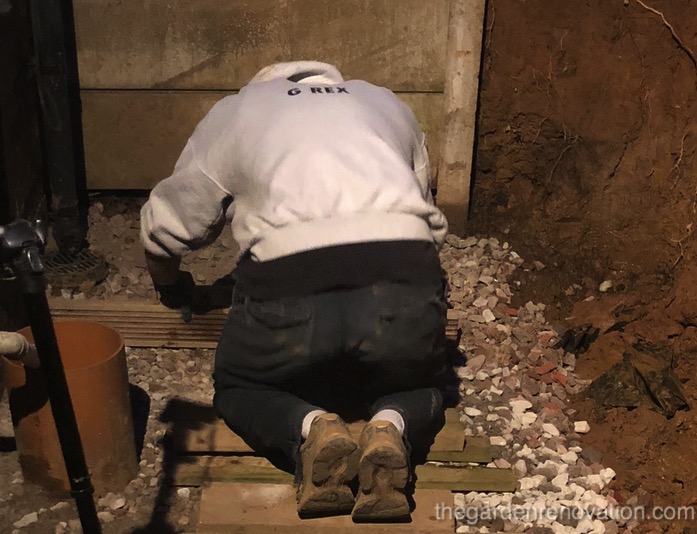
On Tuesday afternoon, we focused on covering the remaining area with the sub-base. We only had an area of about 2x2m to cover. We laid a layer of recycled aggregate made out of rubble followed by a nice layer of sub-base material. G then used a plank of wood to level the sub-base and compact it into place.
The forecast said that the weekend would be cold again; below 5 degrees. This meant that we would again risk weakening the concrete if we laid it over the weekend. However, on Wednesday, Thursday and Friday the minimum temperature was meant to stay above 5 degrees. This meant that it would be best to lay all pavings before the weekend.
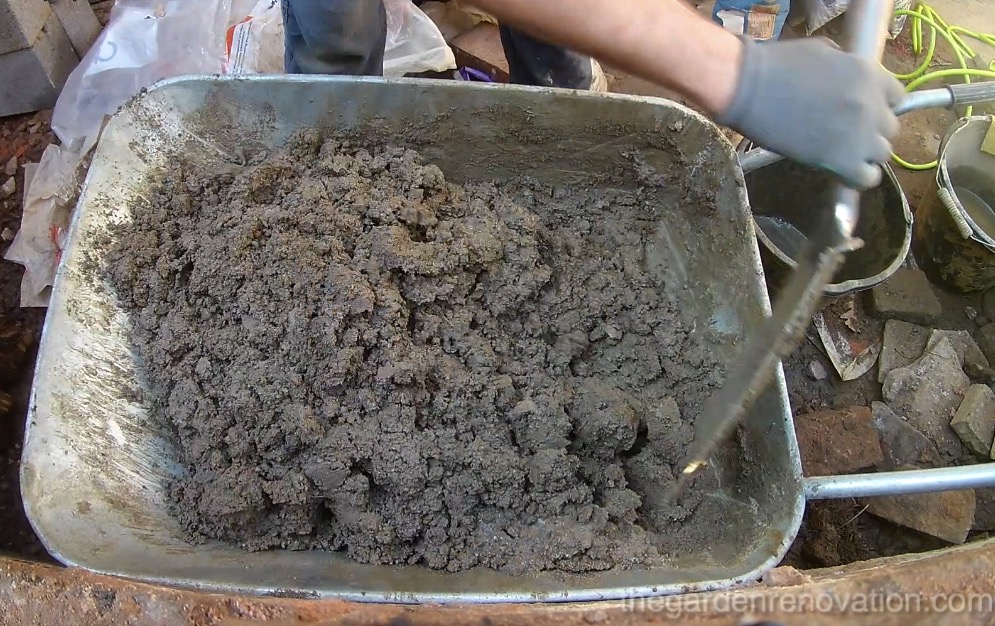
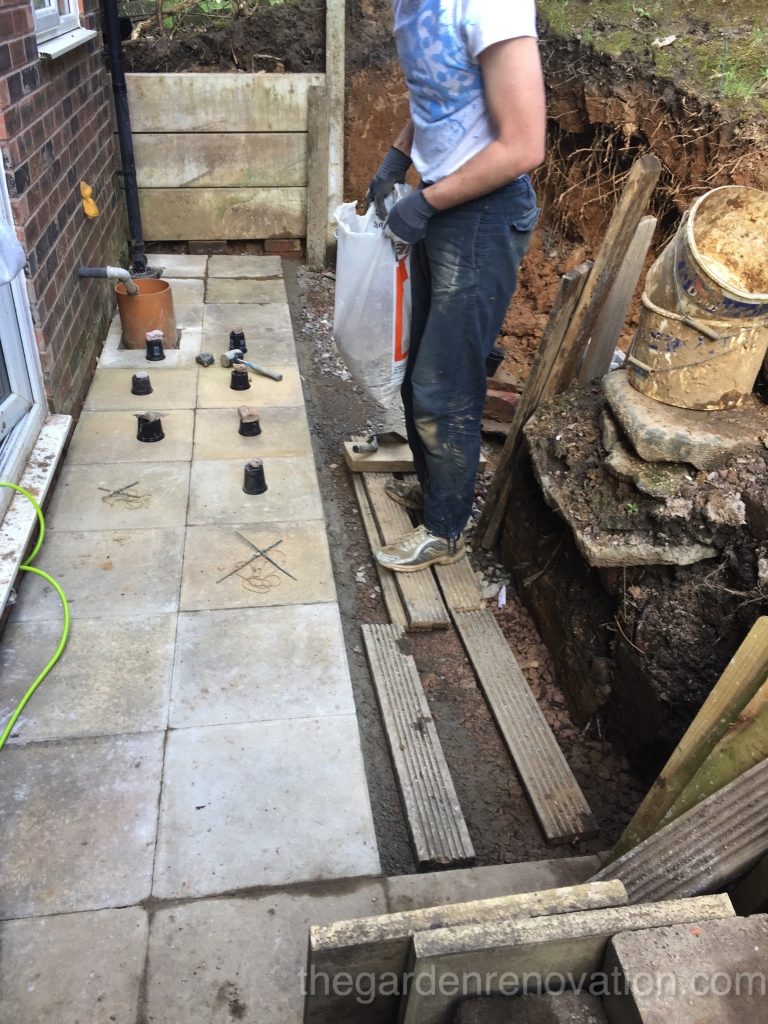
On Wednesday, after seven weeks working on preparing the area for paving, we started to make the mortar to lay the paving slabs. G used a 6:1 ratio, 6 parts sand and 1 part cement as a base for the slabs. This was the first time we got to recycle the sand we have been gathering ever since we took down the stone retaining wall. Our wheelbarrow, where we mixed the concrete, cannot hold 7 buckets worth of material, so instead G took 3 buckets of our reclaimed sand and 1/2 bucket of cement. With a spade, he mixed the dry sand and cement until they were well blended together. Then he added about 1/2 bucket of water (not all at once) and mixed it until we got a consistency that looked right; something that is not too wet that it does not hold its shape but not so dry that it crumbles apart.
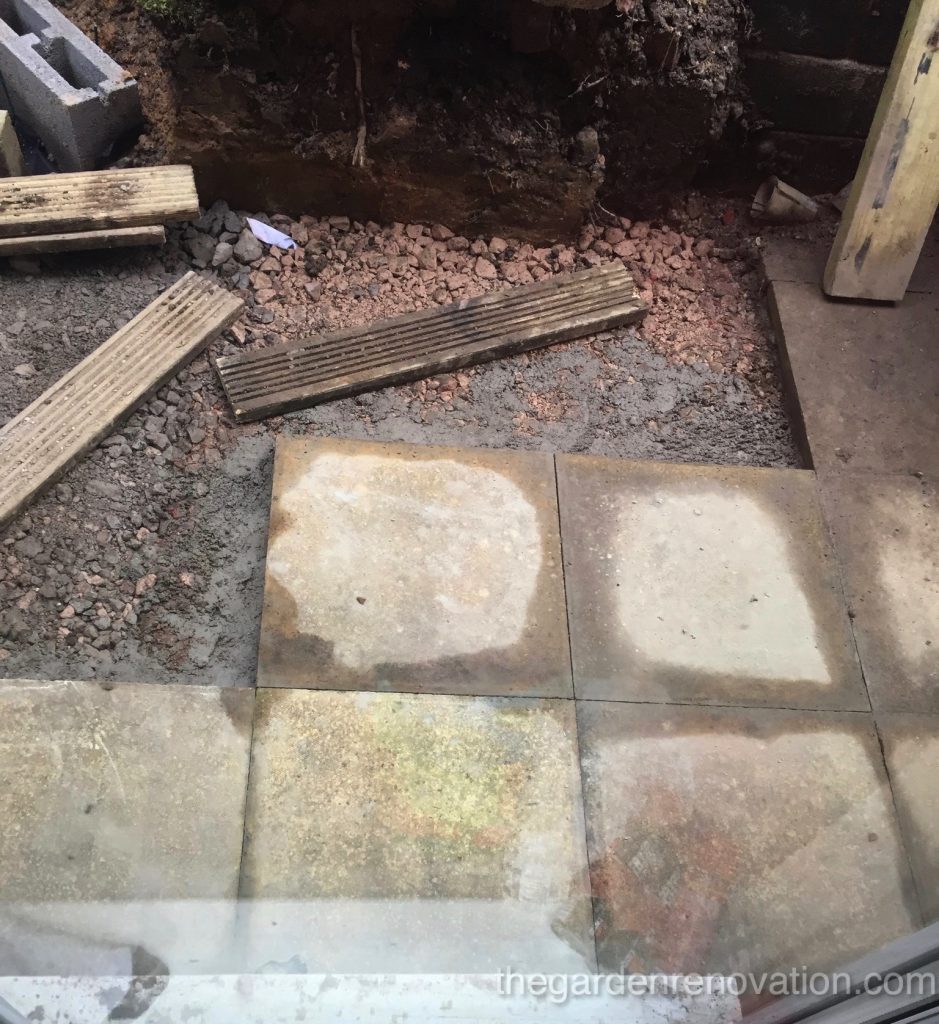
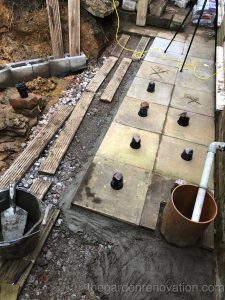
Once the mortar was ready we spread some of the mixture over the sub-base, enough for only one slab. We then laid the slab on top of it and with the help of a mallet (a tool we purchased a while back on sale) and a spirit level we did our best to match the level to the existing stabs while keeping a slight slope away from the house (about 1-2%). The first slab went on ok, then we repeated the same process until we ran out of mortar which turned out to be 4 more slabs. By the time we were done, it was very dark outside, levelling the slabs was quite time-consuming and hitting with the mallet also generated quite a bit of noise. Often we would need to lift the slab up to add more mortar or take some out and then we would spend a lot of time aligning it and checking the level with the previous ones. Overall our first experience laying slabs went quite well, the hard part was to resist the temptation to step on the freshly laid pavings 🙂 .

 During the whole afternoon we spent on that tasks, we only managed five slabs. As we had plenty more to go, it was clear that we would not finish before the weekend. This was a problem because of the expected cold weather but during the previous trips to our local DIY store, we had found a chemical additive for concrete that would help it set correctly at temperatures less than 5 degrees. R decided it was worth trying it out so that we would not have to work extra hard on Thursday and Friday, but instead we could continue paving easily over the weekend.
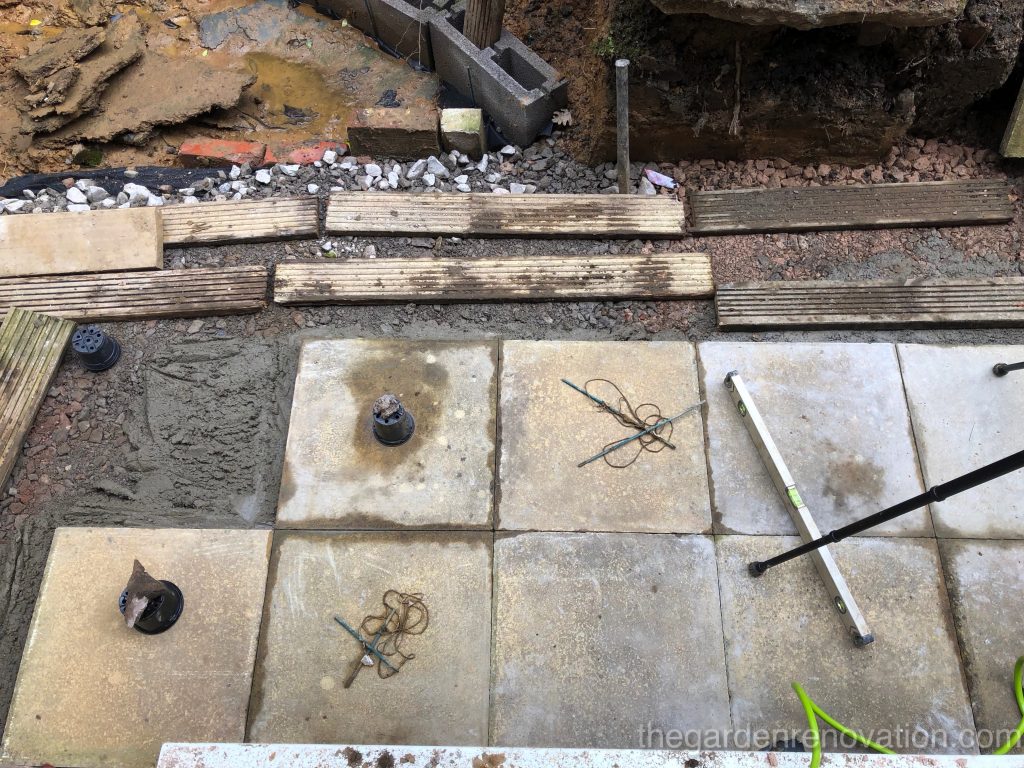
By Saturday the cement was dry and hard as stone. G felt confident it was ok to stand on the slabs without risk to mess up the level. The whole weekend was dedicated to paving. G would prepare the concrete mix, which took him about forty-five minutes to an hour to prepare and ensure it was well mixed. R would instead lay the mortar and position the slab on it, then it was a team effort to ensure the slab would be level with the others. We purposely only laid two rows of slabs because if we laid the third one as well, we would have no way to get back or move about without stepping on freshly laid concrete.
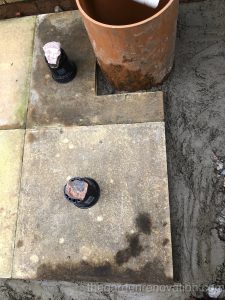
 As Saturday afternoon approached, we reached the orange drainage basin that sticks out of the ground. As the slab did not fit nicely next to the pipe, we had to cut it to make it fit. Unfortunately, we did not have anything capable of cutting stone so we decided to sacrifice one slab (we counted them beforehand to make sure we would still have enough!) and use the chisel to try and cut it to shape. G spent some time taking the measurements and then armed with hammer and chisel tried to break the stone to the right shape. With some patience, it seemed to be going ok… until the slab cracked in the wrong place and the whole effort was wasted.
 This approach was much to slow and unpredictable since we needed to cut 4 slabs. We did some youtube research looking for a cheap alternative and came up with the idea to use an angle grinder with a diamond disk to cut the stone slab. Small trip the DIY store and G was able to trace the same measurements onto another slab and precisely cut it with the angle grinder. We bought the cheapest angle grinder – so cheap that the diamond disk to cut the stone was actually half the price of the grinder itself, but it worked really well! It cut through the slab really easily and was very easy to control.
 We finished on Saturday by cutting the four slabs so that they would be ready to be laid on Sunday morning. The next day we did much of the same, G prepared the concrete mixture and R positioned and levelled the slabs. Since we finished laying the entirety of the first two rows, we moved onto the third and final row. We planned to start from the left end but in the end, we had to leave a gap of three slabs because at a later date we will have to extend the drainage in that area and therefore, it has to stay uncovered until then.
At the end of the weekend, we had two full lines of slabs laid and six slabs missing from the third one. It felt good to have made such visible progress! It was also nice to finally get towards the end of a project we started almost two months ago. You may probably wonder why we did not leave any gaps between the slabs themselves – this is because we are laying the new slabs as an extension to the existing paving and whoever did the existing paving, they did not include any gaps for mortar between.
See you next time! 🙂
To view the next article click here Weekend 12 – Pouring concrete foundation for our first retaining wall.