


Welcome back!
After some sweet celebrations of Easter with friends and family, we are back with a new post and a video! This week of the garden renovation was a long one because it lasted from Sunday until Thursday! :O (opposite to what the titles suggest, it is certainly not a ‘weekend’ anymore).
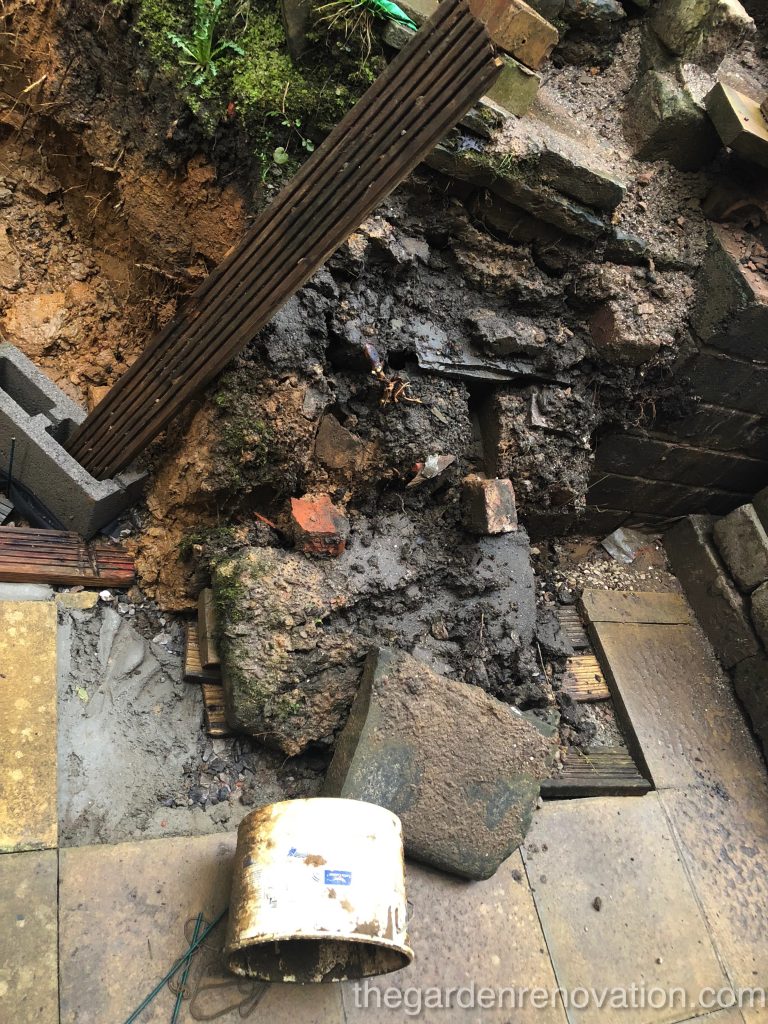
Unfortunately, on Sunday when we recommenced we were faced with an extra, unexpected task – the beginning on the garden stairs has collapsed and fell onto our sub-base, as well as the slabs. Even though we had a heavy piece of the stone falling on our freshly laid slab, it seemed to stay intact (what a luck!). R was not pleased as she thought that now the clay would be well mixed with our sub-base and everything will need washing and laying again but at the end, it was not that bad at all!
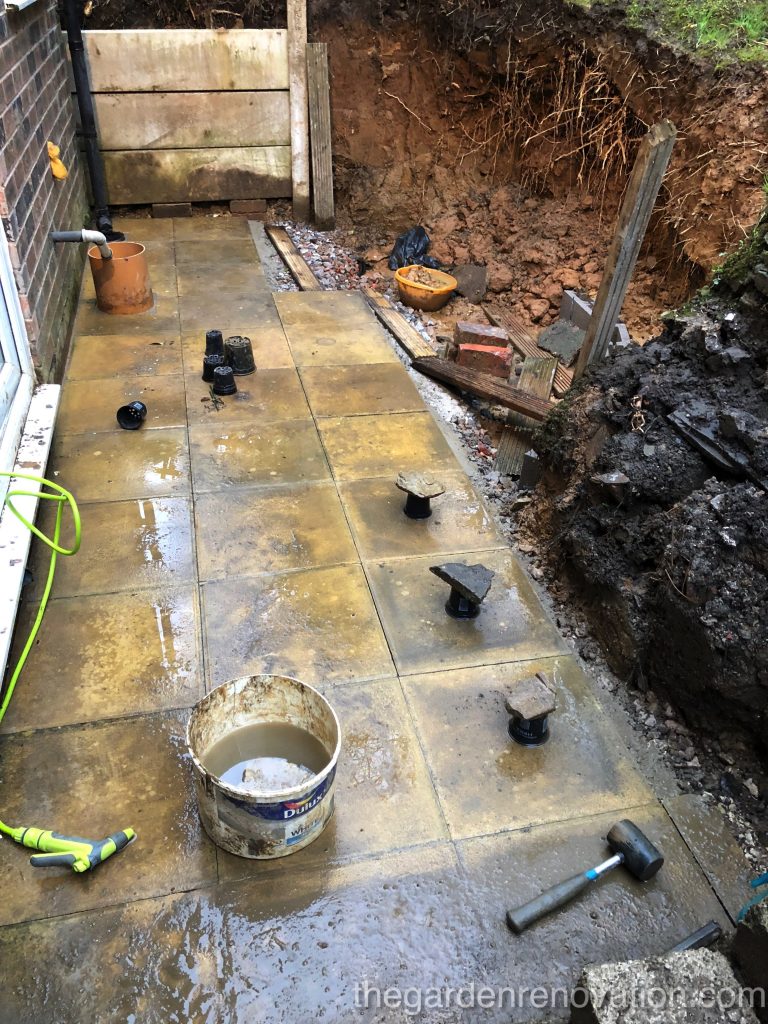
Once the mess was cleaned, we still had 3 slabs to go to finish our paving area in front of the stairs. We only left this gap due to lack of time last week but the idea was to finish all except for three slabs that will go next to the left-hand side of our retaining wall. As a reminder – we cannot finish these until we have the drainage pipe set up and running behind our first retaining wall.
Since it was only three slabs, we were convinced the job would be done well quick and we would be able to move to digging the trench for the foundation of the wall. Again, we could not be more wrong… We had problems fitting the first slab and we have only realised quite late that the concrete from the previous slabs has set too high causing us a problem. As a result, we had to use chisel and hammer again to chisel down the excess of the concrete from around the slabs. Lesson learnt, we did the same for our second slab and that one went pretty smoothly. For the third slab, the only thing we were afraid of was the lack of space to fit it in. But again, space did not appear to be the issue at all, in fact, we were pretty spot on! This time we are not sure what was the actual cause of our failure but we spent around 1-1.5h fitting that slab and in the end, we gave up and had to get over some imperfections (nothing visible for the eye, but with a touch, you can feel that the slab is not leveled with the existing paving).
Meanwhile, R also noticed that there was some water gathering in the small gap between the house and the paving so she decided to take the opportunity and fill the gap with the same concrete mix and while doing this, she also topped up the gaps around the cut slabs that went around our drainage basins.
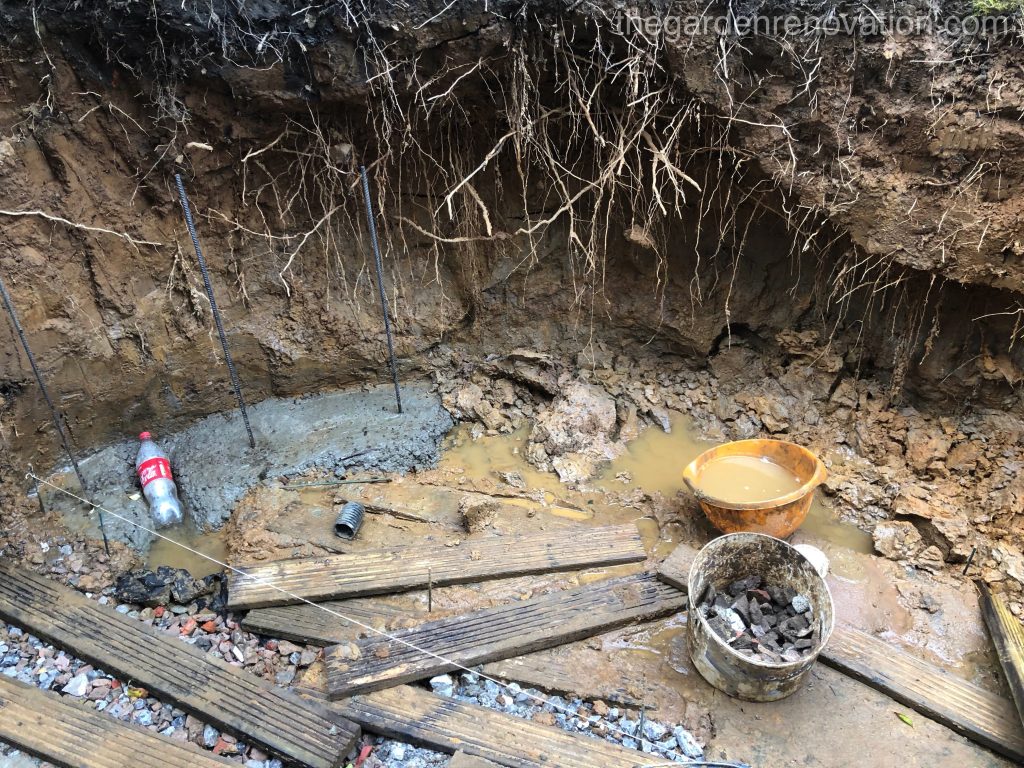
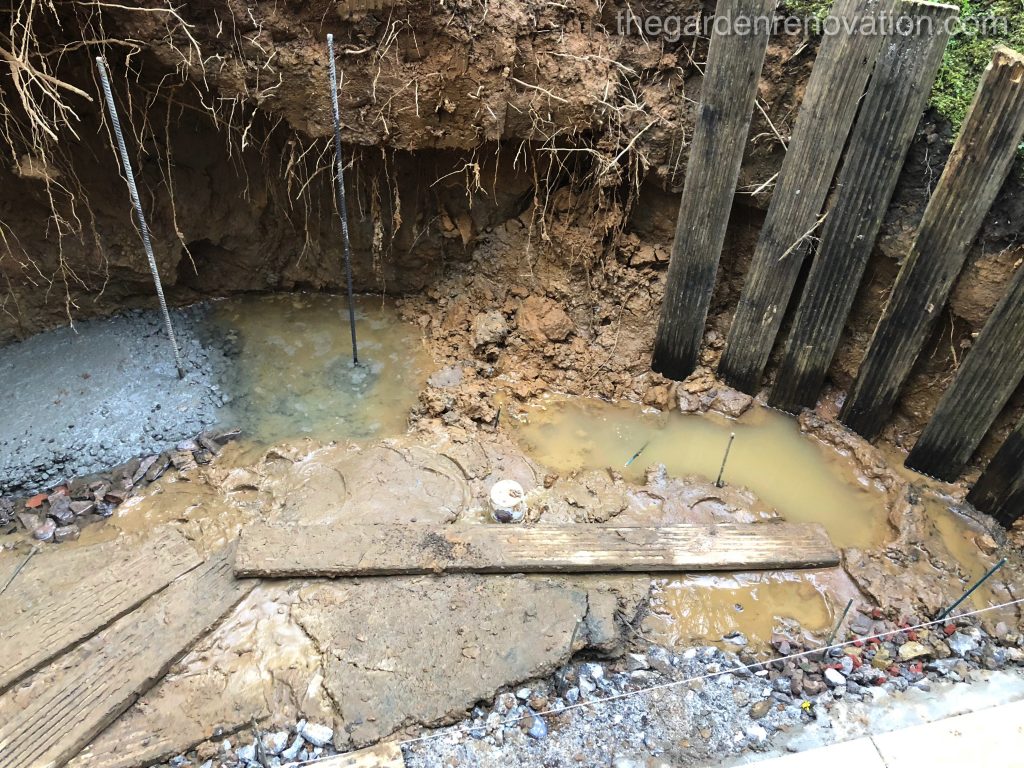
Next step involved shovelling out all the clay that collapsed from our slope as it was right where we wanted the foundation trench to go. Once we had that done, we were looking for a way to stop the earth from further collapse and decided to use our old decking planks which G hammered down with the sledgehammer against the edge of the slope. We gave up approximately half way because the ground was so muddy that no plank would stay where it was meant to, not to mention holding clay…
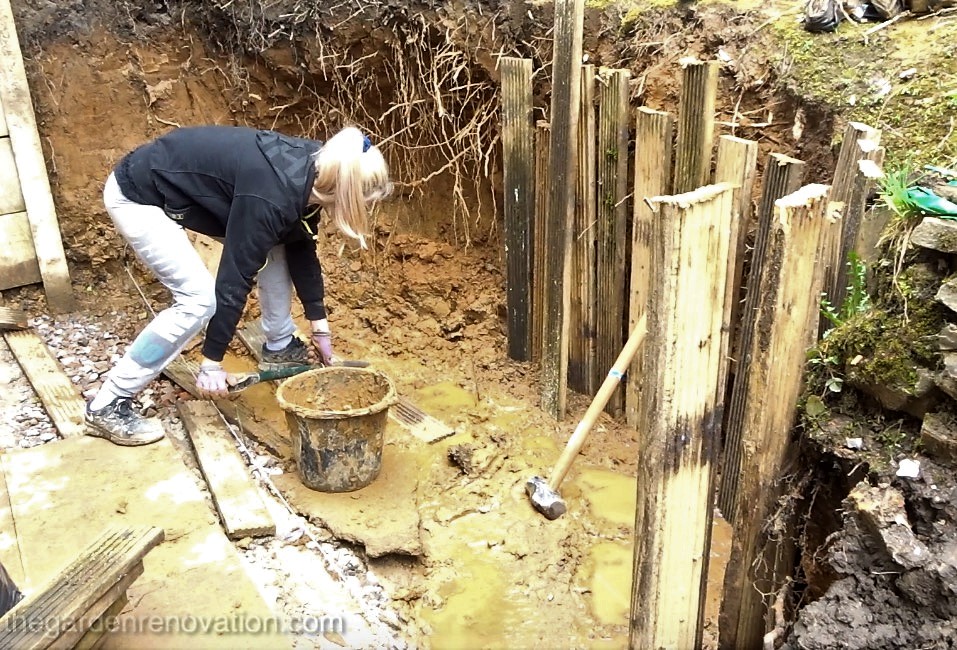
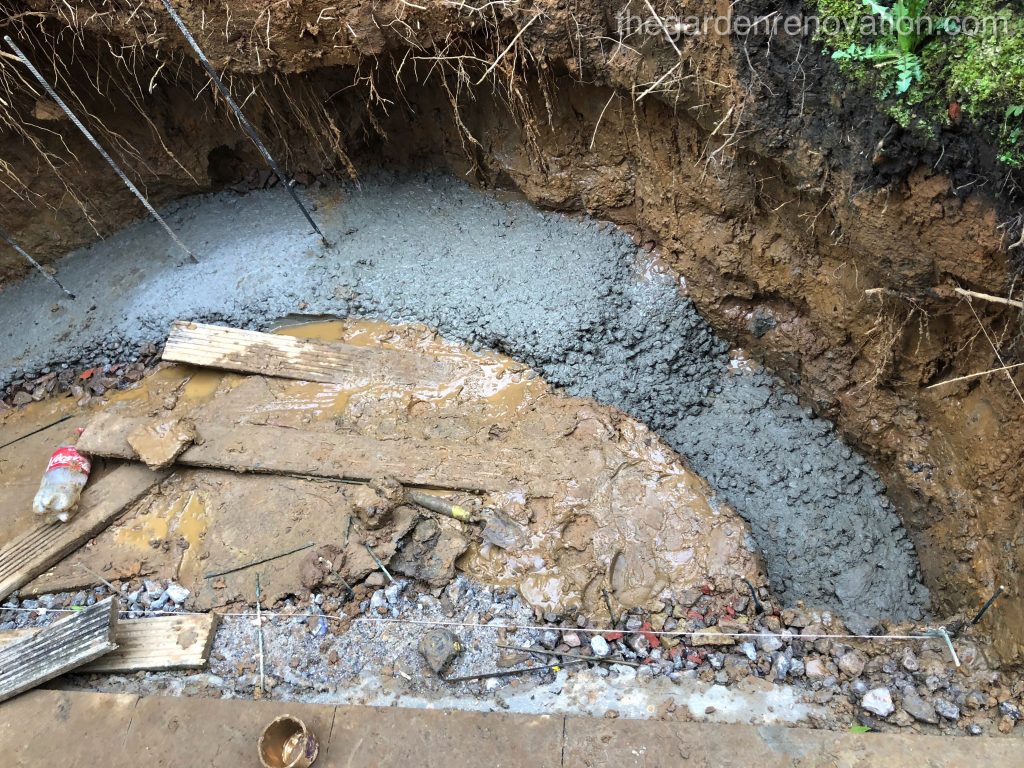
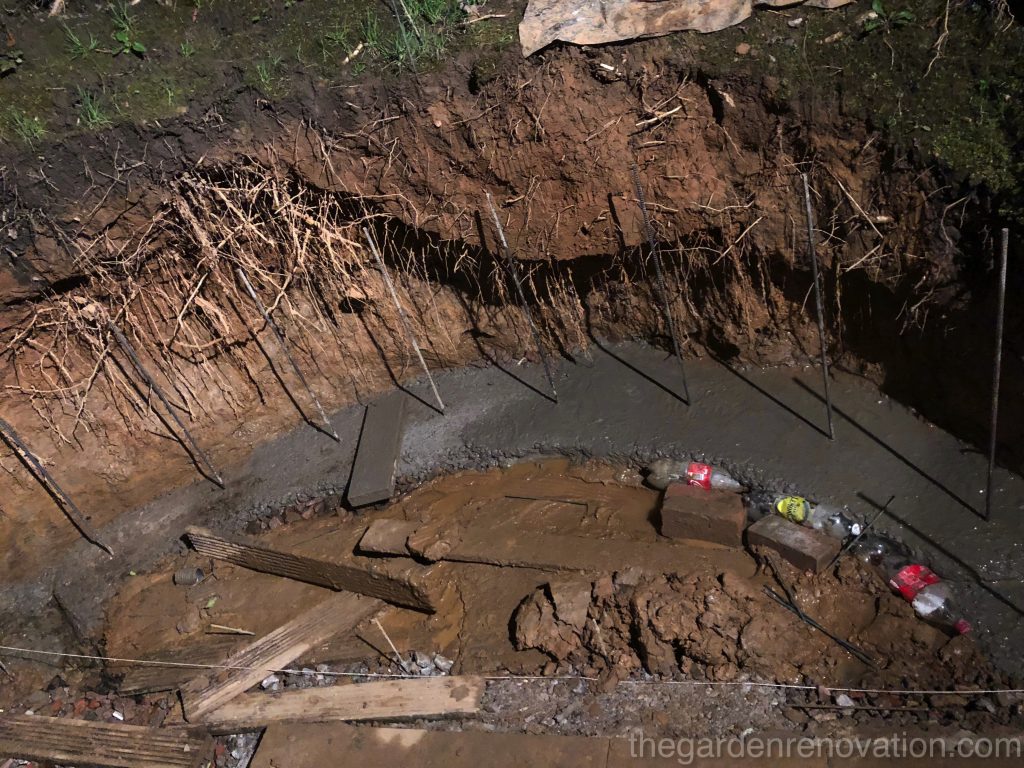
Our next step was to set the path for our arc to follow. This was extremely time consuming and involved running with a meter, sticks and a cotton yarn. Once this part was done, we refined these measurements to accommodate the wall foundation. We have calculated that since our blocks are 14cm wide, we would like 10cm of foundation before and after the wall, making a total of a 34cm wide foundation. This appeared easy in theory, in practice, it did not quite work out this way.
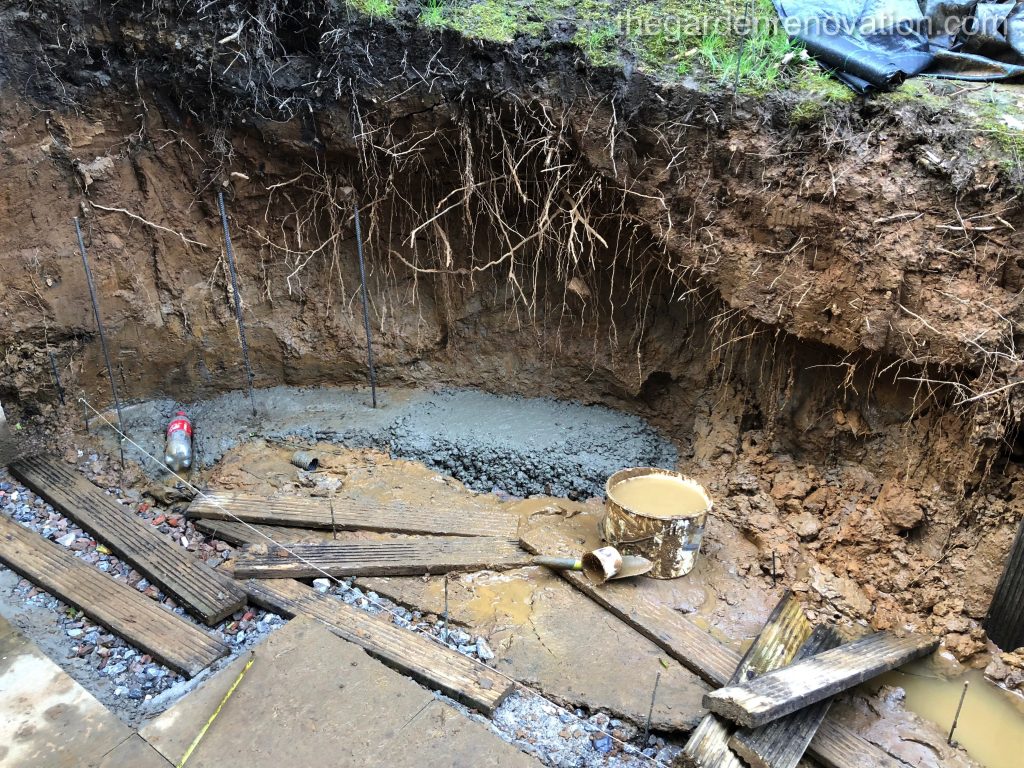
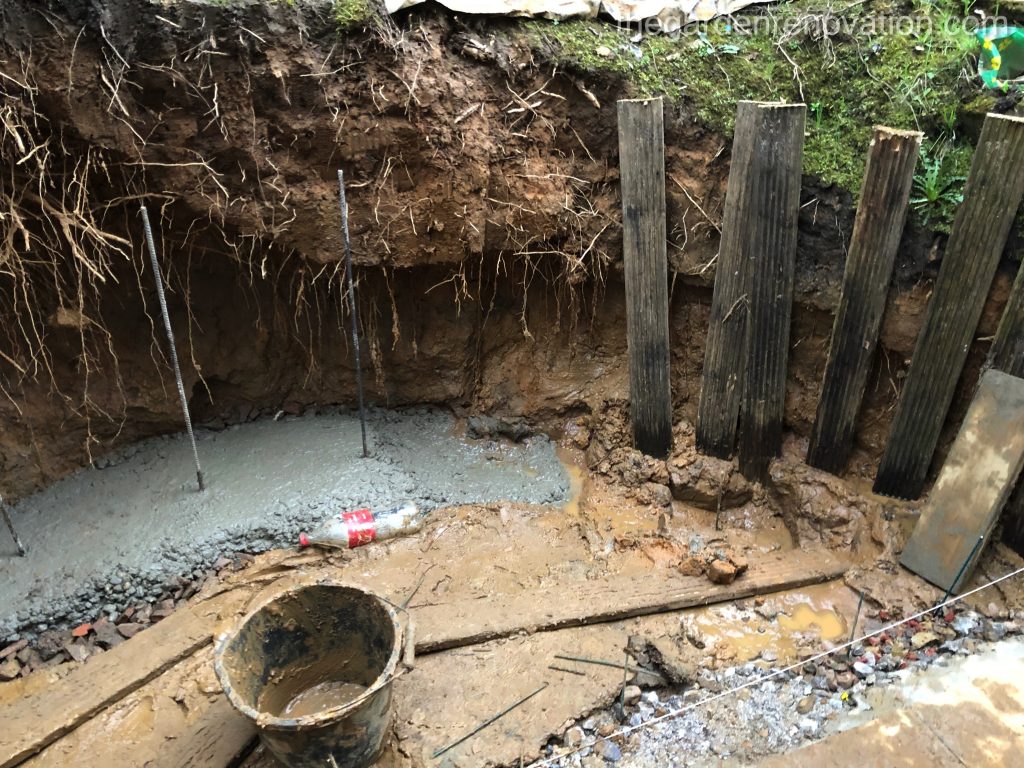
If you have read our previous post, you may remember that under the thick layer of the clay, we have a good layer of the sand in places. Digging the trench was either extremely difficult due to a hard material layer or extremely annoying due to water flowing through the sand layer depositing itself into our trench. The sand layer once a pleasant discovery, now was our enemy because by washing off with the water flow, it was leaving part of clay without the support from the bottom making it collapse into our trench/ onto our fresh concrete foundation. At some point, we had a lot of material collapsing and as a result, we had to widen our foundation to prevent it from further collapse.
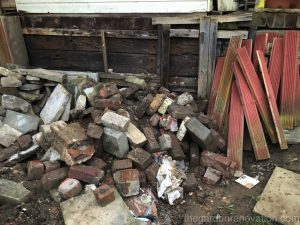
As preparing one batch of concrete for foundation (which by the way was 1:2:3 ratio of cement, sand, aggregate) is very time consuming, the overall task of filling that trench took us nearly the whole week. We made the trench 40cm deep and filled it with a mix of big aggregate chunks and the concrete mix. We have made the aggregate using stuff from our rubble pile which is so much smaller!! What a great way of recycling rubble. On top of that, as we progressed, we were also installing steel rebars in our concrete mix. We have sourced them from the internet and ordered ten pieces of pre-cut 1m rebars. Originally, we wanted to add five rebars for each wall but in the end, we have decided against that and now we have a rebar roughly every 44cm now – we are hopfull the slabs will fit into them!
See you next time! 🙂
To view the next article click here Weekend 13 – Building the first retaining wall – part 1