


Welcome back!
This is the 5th weekend of the works in the garden (and 6th since we started), its still winter, the weather changes from freezing to cold to rain, and occasionally we get some snow. We did get some dry time over the weekend, or very light snow, which meant that we could carry on with the renovation without to much trouble.
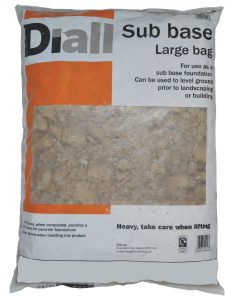 Last weekend we left off just after having set a couple of bags of sub-base material just outside our back door where we dug out for the paving. The very nice thing about the area with the sub-base is that it was pretty dry with no standing water visible, whereas other areas were clearly wet and had a bit of standing water on them. This means the sub-base is working well! On top of that, when we stand on it, it is very firm and solid – a good purchase indeed.
Since the sub-base worked so well, the plan was to clear our and level the whole of left-hand side to get it ready for paving. We have decided that we need to level the whole area that we are going to pave before laying any more sub-base because digging is too messy and we would just end up covering the sub-base with mud and clay. In fact, to prevent this from happening, we covered the small area where we have already placed sub-base with the empty plastic bags that were holding the sub-base. This worked quite well to keep must of the mud off the sub-base.
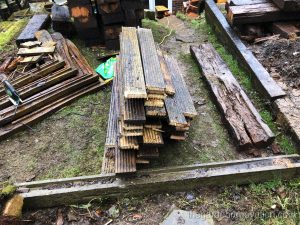
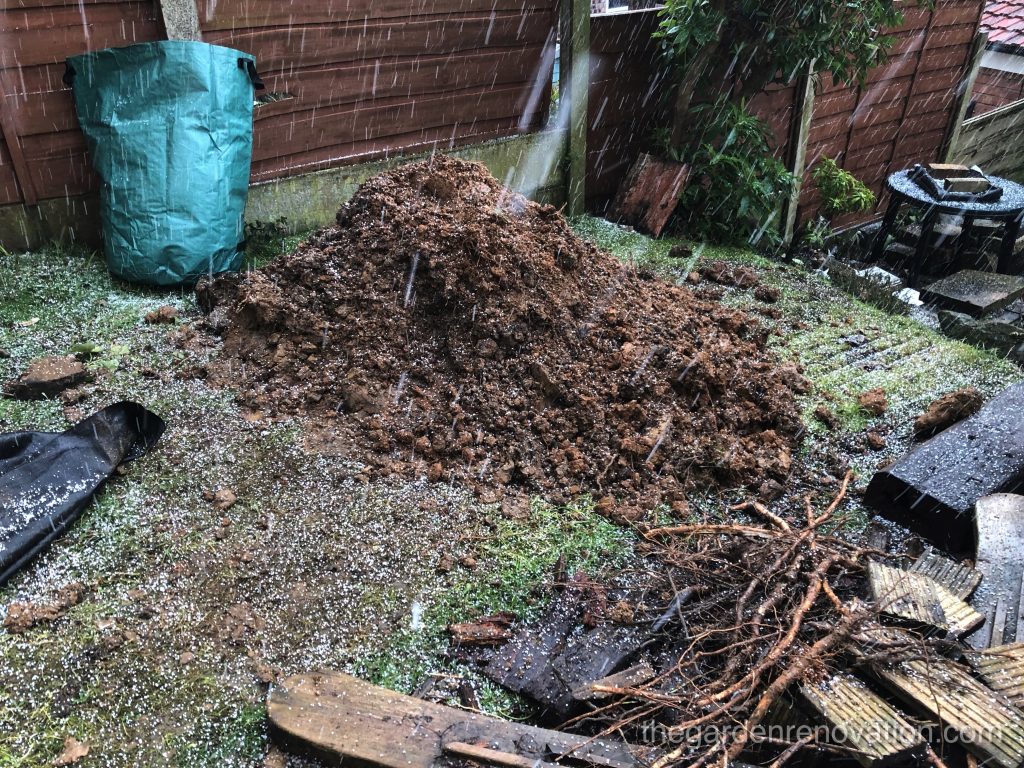
This week we did separate tasks. G kept on digging and levelling the left-hand side, while R worked on cutting and shifting all the wood from the decking that we have left at the top of the garden. We needed to clean up these in order to make more space for the earth/clay from the bottom of the garden and also we have previously established we would use these planks to fix the hole in the shed. R measured the length and height of the hole and put aside about 9 planks while the rest was cut into small pieces that would fit in the car. We moved these to the front of the house for the time being.

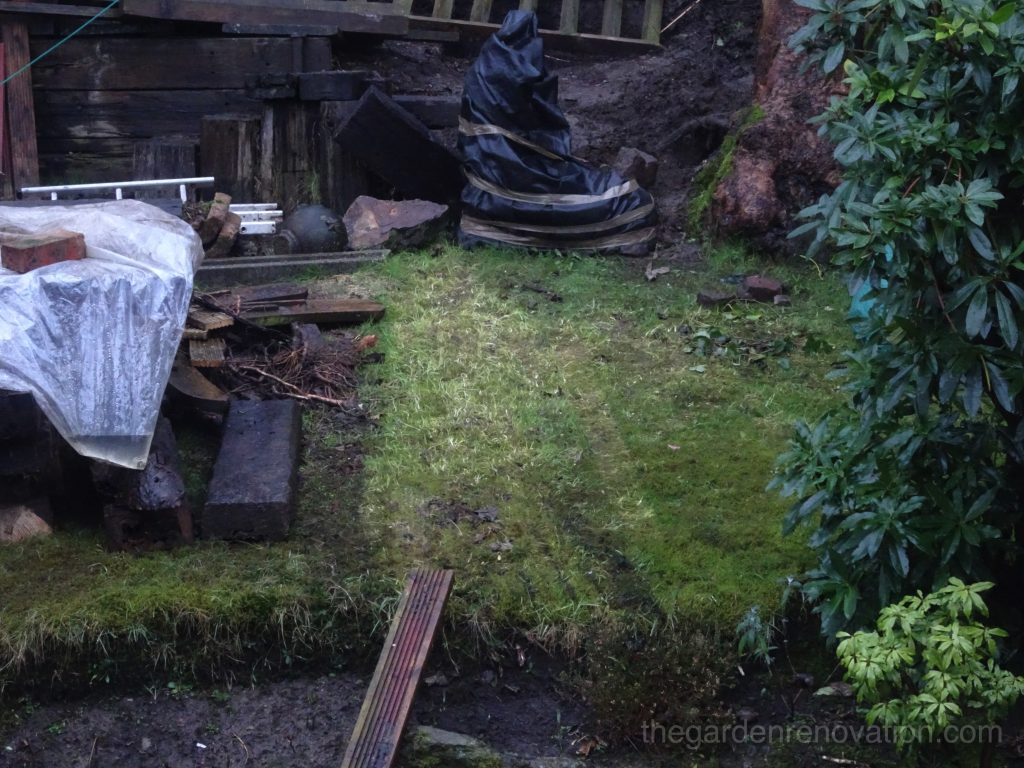
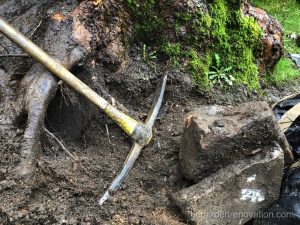
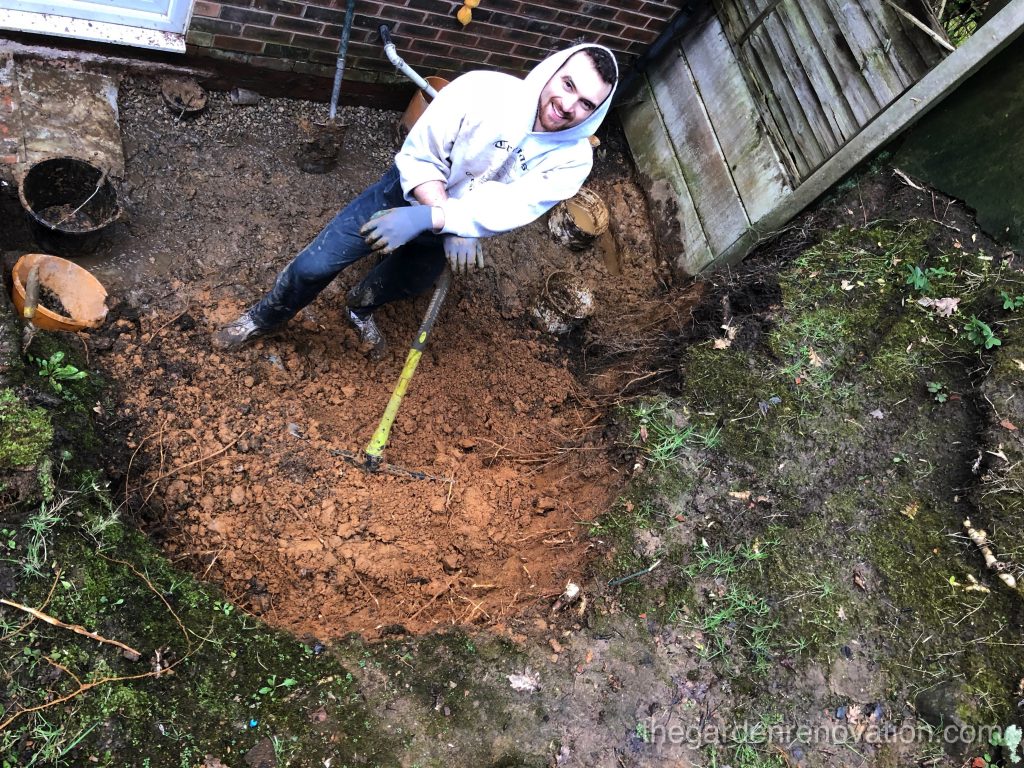
At present, the ground is pretty much level with the paving stones, although it’s fairly irregular. We think we need a good 10cm of space to place the paving stones and our plan is to have about 5cm of sub-base and gravel and then 3-5cm of paving cement mixture – and on top of that the paving slabs of course! So with the help of the new pickaxe and the shovel, G made a start removing the layer of dirt all the way to the neighbour’s fence on the left. This was somewhat of a slow process because the garden is too steep to be able to use a wheelbarrow so instead we use buckets.
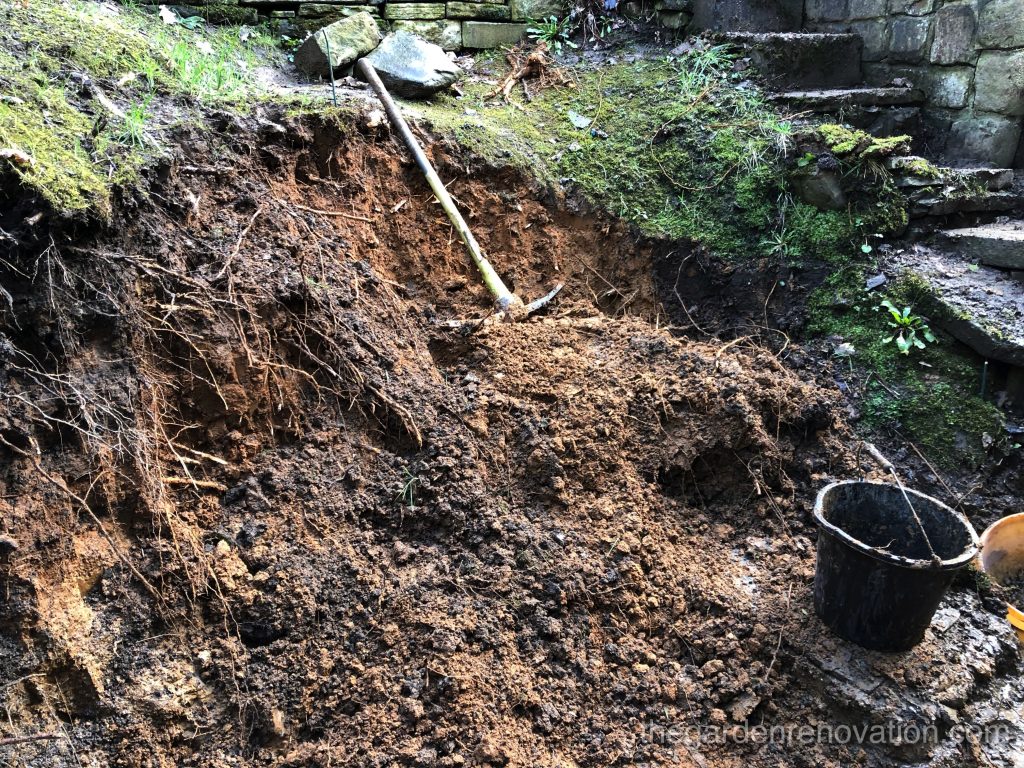
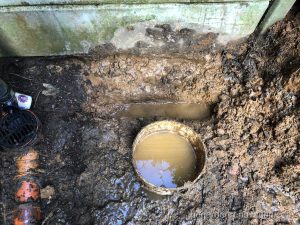
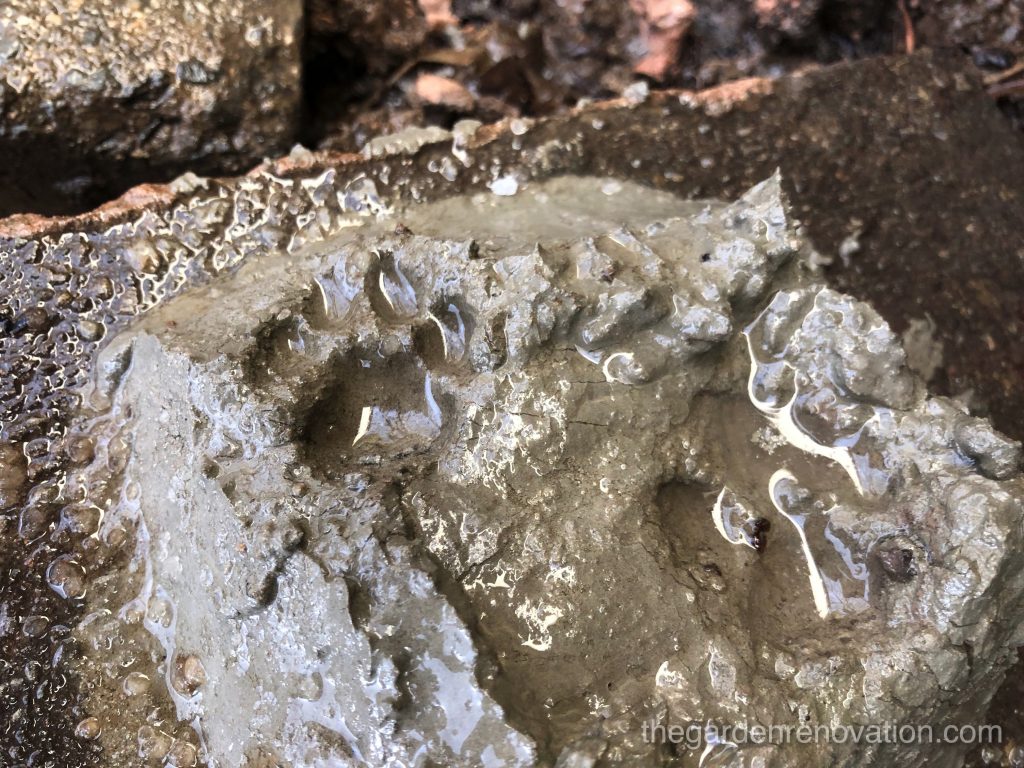
After some of the dirt had been removed, G asked for some help to measure and make sure the level was correct. We took a long plank of wood from the decking and placed it on the paving stones on the right of the house, and with the help of a spirit level, we marked how far down we needed to go on the other side. It turns out that that G was already nearly at the right depth! G continued to make the ground a little more level, but this turned out to be much harder than anticipated. As you know, our dirt has a really high content of clay meaning we have really poor drainage and this leaves up with a lot of standing water. Due to the digging and loosening up the dirt, all the standing water was making the area muddy and really hard to work with. Each step was leaving a 2-3 centimetres deep footprint so there wasn’t really any way to level the ground!
The following day, we both started to dig deeper into the hill to hollow out the arc that we planned in our design. However, before we started R decided to pour some of the gravel, we had bought the other week, into the area that G had levelled and dug the day before. It only took a few minutes but after that, the area looked so much better. At least, you did not sink down for every step you took and there was no water! It gave us a glimpse of what the finished work might look like and gave us a boost to continue (in this whole excitement we forgot to take the photo but you can see it in the video!). There are really two reasons why we added gravel; one was to try and improve the drainage in the soil near the house and under the paving, and two to make working a little easier. Truth to be told, the clean gravel did not last for long! Once we both started digging into the side of the hill, filling the buckets and going up and down the steps, it quickly got covered with a layer of mud, which made it indistinguishable from the area where the was no mud. Perhaps the only difference was in the firmness of the ground.
Digging and moving the earth up with just buckets is a hard work, so we did not want to have to move more than we really needed to. For this reason, we spent some time trying to work out how deep into the hill we need to dig. We found the centre of the arc and measured (using the Sketch Up design) how far it was from the house; it was about 270 centimetres. We then measured the two ends of the house as well; those were about 150 centimetres. This gave us a guideline as to how far into the hill we needed to dig. It was a lot and more than we had expected. We are hoping it is well worth the effort and I will give us plenty of space at the bottom of the garden.
We set ourselves the goal of clearing half of the arc, we really thought we could get more done and perhaps even start doing some of the paving but it was much tougher than we anticipated. By the end of the day, we managed to get half of the arc cleared so we decided to clean up and stop for the day.
Digging into the hill is quite a slow progress, it seems to make a huge mess and accomplish very little. Especially in the videos, there does not seem to be a lot of progress, however, when you look at it from above, you can really see the difference!
See you next time!
Check out the next article – Weekend 6 – Fixing concrete fence post and more digging.