


Welcome back!
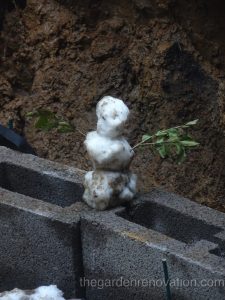
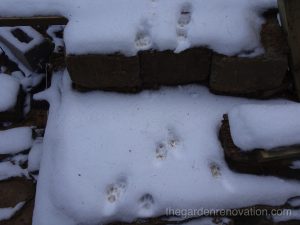
If you live in Europe then you are surely aware of the weather conditions we were experiencing over the past week. England was no different with frequent showers of snow, negative temperatures and storm “Emma”. Given that this weekend the temperature reached a high of 2 degrees on Saturday and 3 degrees on Sunday, we decided we were going to take it easy this weekend.
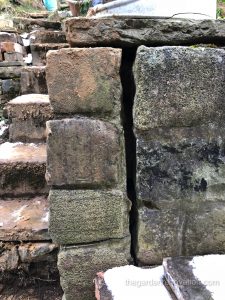
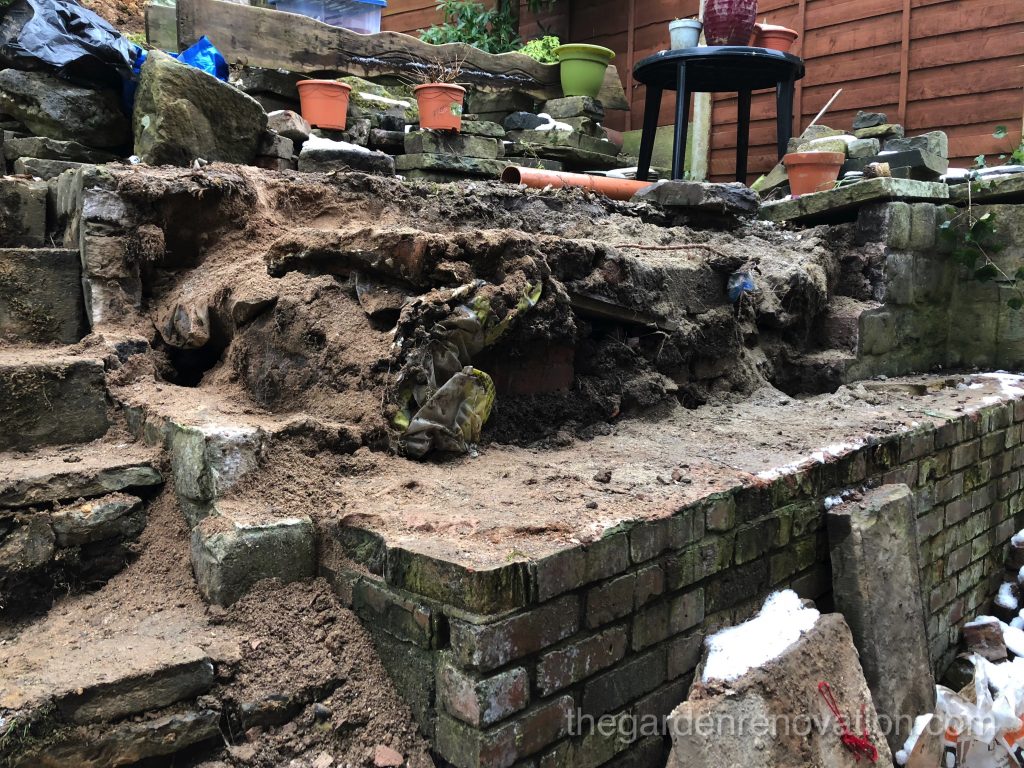
We could not continue with the drainage as the snow was covering most of it. Last week, R decided to start demolishing the brick-work on the right-hand side of the garden but we cannot really continue this part until we remove the top part of the wall which is made out of square stones. Given that one side of that wall has already separated from the rest and it cracked even further off the sides, R thought it would be an easy job to take down some of these stones down (also the sledgehammer action would definitely keep us warm!).
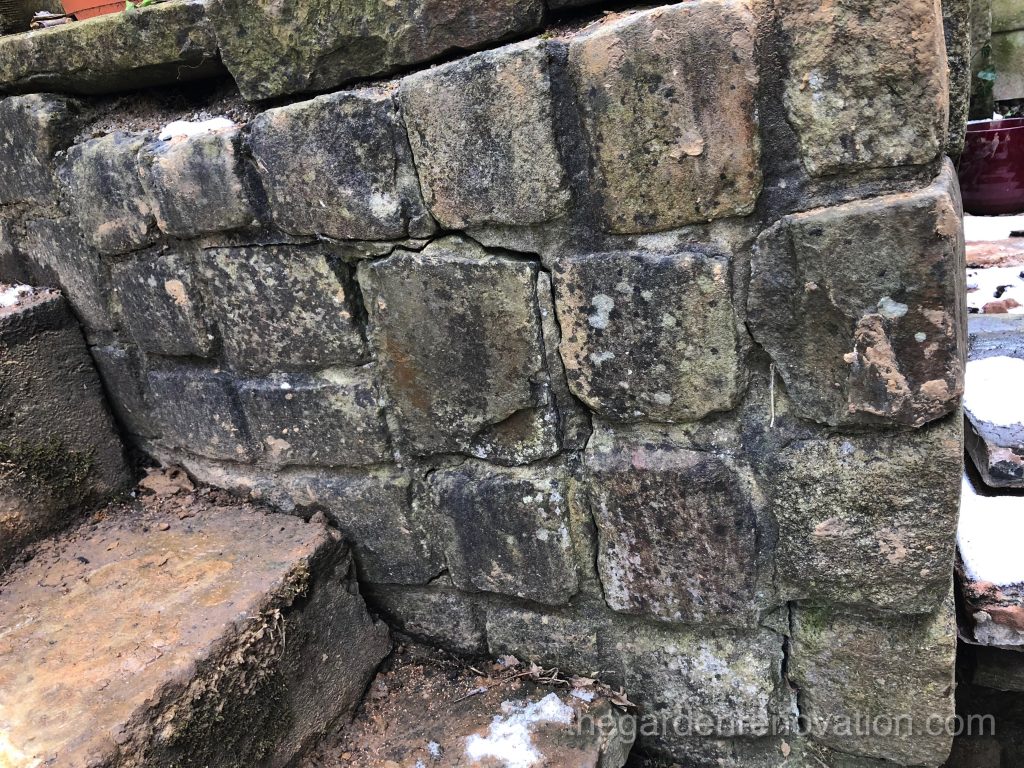
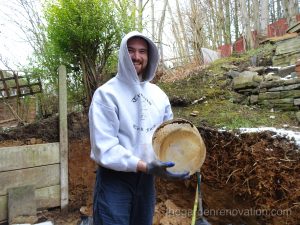
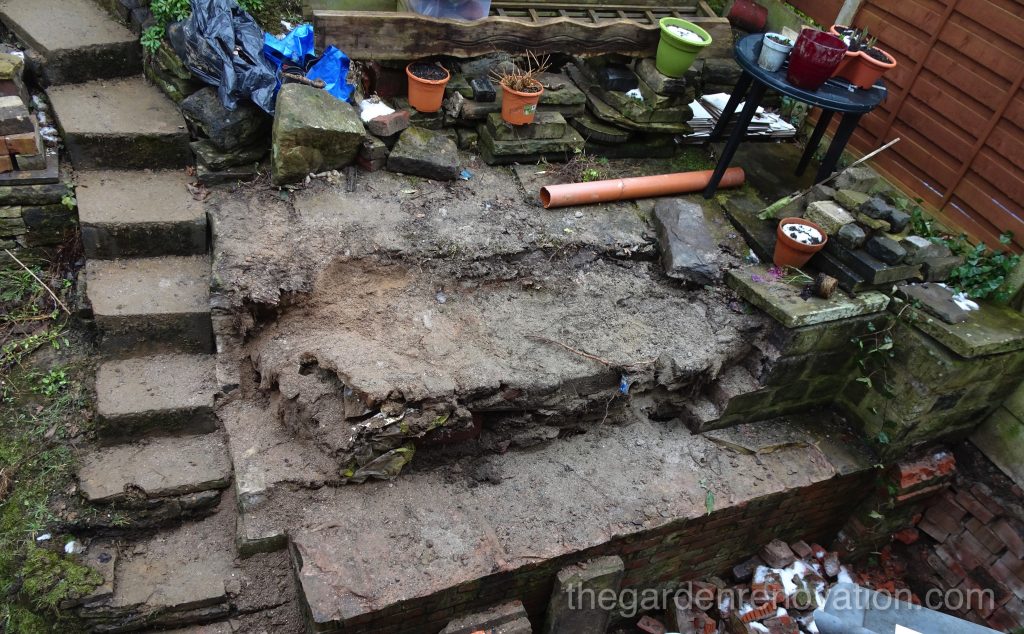
To begin with, she got some help from G, who helped her to lift some of the stone slabs lying on top of the wall – these are so heavy! 🙁 Together, we removed about half of the slabs on top of the wall that formed a patio area. All of these slabs are in good condition therefore hopefully, we will be able to re-use them in our finished garden. We then began to hammer away the wall. As G hit the stones with the sledgehammer, the mortar around them detached quite neatly from almost all the stones. That meant we could stack these up nicely at the top of the garden and perhaps re-use them somewhere else (or at the very least sell them to someone else who can make good use of them). At the moment, R has planned to re-use these to build small supporting walls on either side of the main stairs but nevertheless, we are expecting to have quite a few left after that is done.
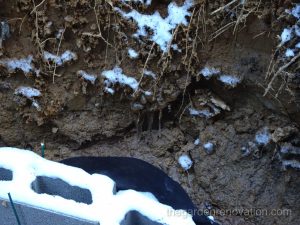
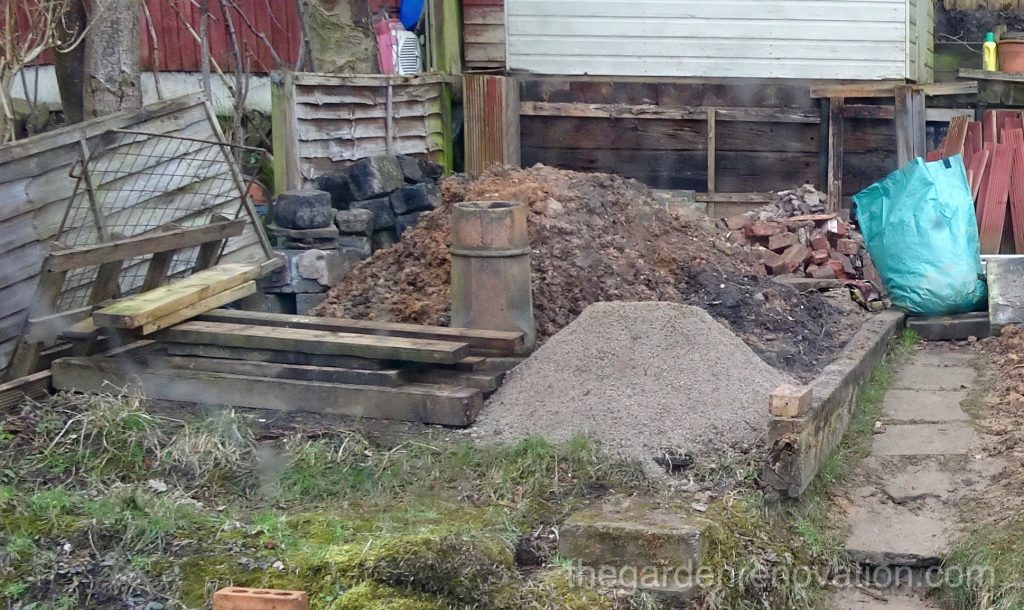
While G was hammering the wall, R was stacking the stones in the upper part of the garden. Once half of the wall was removed, we had a good look at the material lying behind the stones – traditionally now, this was a mix of rubble and rubbish (for example sand or compost plastic bags, bottles, cans) but we also kept on finding more square stones (so actually something useful for once 🙂 ). After closer inspection, we have noticed that we also had a considerable amount of sand stashed behind that wall! Given that one 25kg bag of sand is 1.90 at our local DIY store, we thought that if we do well at separating the sand from the rest of material, we could make some savings!
And so we went and decided to make a separate pile of sand in our garden. Short of space like we currently are, we decided to move some railway sleepers and moved these to what was once our lawn (now a field of clay). Once, the space was cleared we just focused on bringing buckets of sand up – G claims that with every bucket of sand up, we save 1 pound 😀 There will be quite a few paved areas in the garden and we are hoping to use the saved sand for these areas – as priority we will use it for the bottom paving right next to the house!
Stil on Saturday, R asked G to dig slightly deeper into the slope as we have realised that with the current layout of the arc wall, we have not made enough space to accommodate the drainage pipe with the gravel on the left-hand side. R also wanted to remove the planting from the slope (crocus bulbs) but given the weather this week, the top layer of the soil was frozen and she could not stick a garden shovel in it…so that will be a task for next week.
On Sunday, G decided to focus on a different project so for most of the day R worked on her own. She proceeded to remove the material hidden behind, now removed, stone retaining wall. As separating rubbish from good stuff is quite time-consuming, it felt like she did not do much progress but the pile of sand was definitely getting bigger!
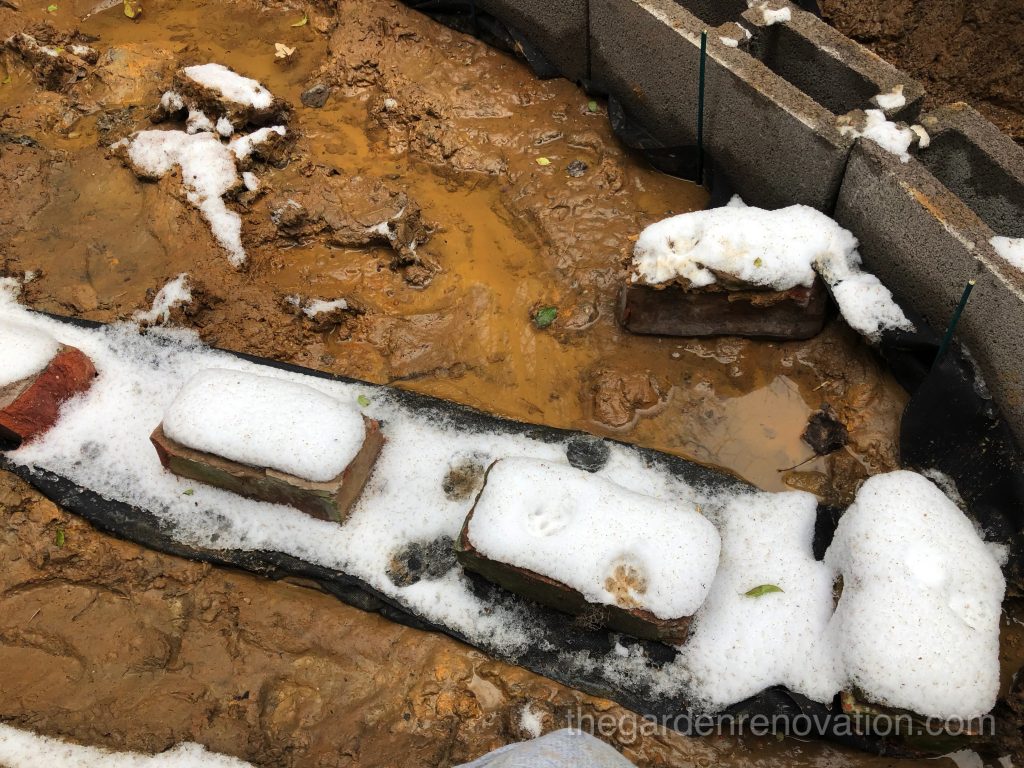
To keep the long story short, after a week of observation, we were not quite happy with the drainage set up we did last weekend so on Sunday evening we decided to remove it. R asked for G’s help and together we dismantled all parts (including collecting all gravel that we spread last week 🙁 ). After that, we could clearly see that we have not sloped the trench properly. We have removed the installation up to the V-join so that the water still could drain while we take our time to think of a different solution. We still used the landscaping fabric to cover up to openings of the V-join to prevent mud from entering the draining basin.
As the days are now getting longer, R also managed to squeeze one hour on Monday to work on removing material from behind the wall! To be honest, given the temperature outside, we did more than we thought we would 🙂
For the next week, we have got a volunteer (a friend that is) to help us removing the rest of stone wall and some of the bottom brick wall … lucky times!

See you next time!
To view the next article click here – Weekend 9 – Setting up garden drainage (final attempt) and a surprise behind retaining wall.